How to Make a Dog Bandana Collar
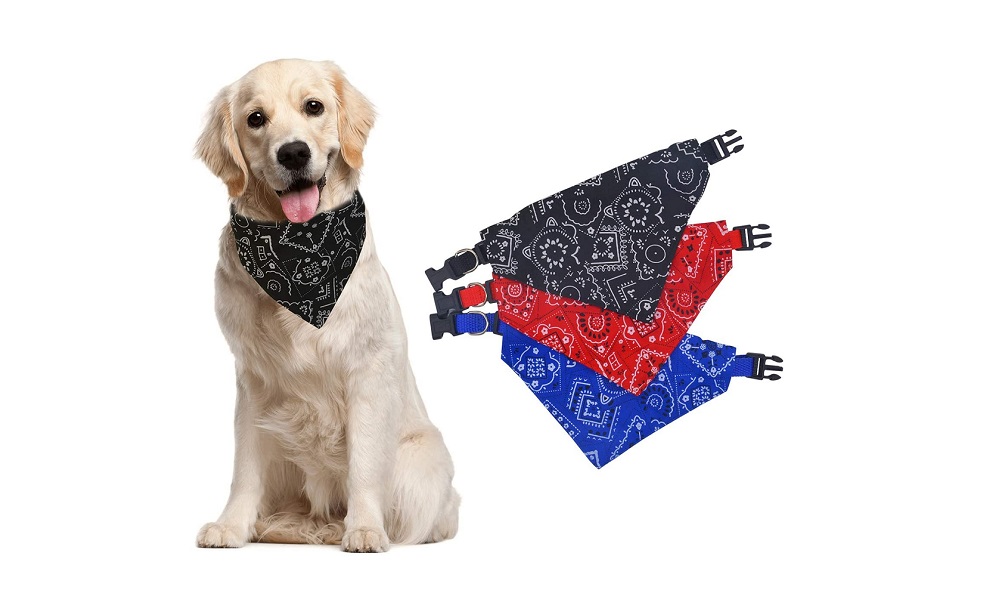
Dogs look more beautiful and presentable when they have a bandana on their neck. A dog bandana is a perfect accessory to make your pet approachable, smart, and friendly.
It has health benefits such as keeping your pet warm and protecting from sunburn. you can use a bandana to keep your dog calm by applying stress relief balm on it.
Most of the bandana collars are made with pure cotton. Thus, it is easy to maintain, good for sensitive skin, and suitable for every outing.
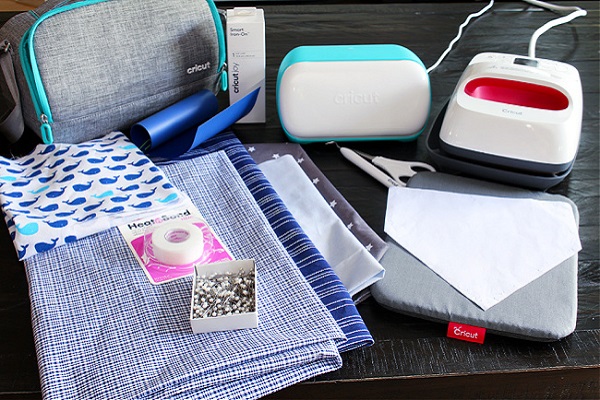
Before starting, you need to gather materials such as fabric, paper, tread. Get tools like pins, a pen, a sewing machine or hem tape, tape rule, and scissors.
An electric iron will come in handy to smooth out the fabric while giving you an accurate and neat job. Below are the steps for making dog bandana according to the size of your dog’s neck.
There are two ways to make a bandana collar either with a sewing machine or fabric gum. So, if you don’t have a sewing machine, this is good news for you.
When Should You Use Dog Bandana Collar?
There are both fashionable and practical reasons for when a dog should use a bandana collar.
Health-related issues: A bandana plays a vital role to warn strangers and keep them notified about the condition of your dog. A clear text can be written on the bandana to send a clear message.
Some dogs don’t like strangers to touch or come closer to them; some are deaf, anxious, or undergoing training. All these can be indicated on the bandana during an outing with your dog.
Warmth and Cold: Dogs have feelings like humans. During cold/winter covering your dog’s chest will go a long way to preventing it from catching a cold.
The bandana will serve as another layer to protect his chest. When it is hot, you can wet the bandana before putting it on your dog. This will be relieving formula from the harshness of the weather.
Make a Dog Bandana Collar – Step by Step Guide?
Making a Bandana Collar with a Sewing Machine
Step 1
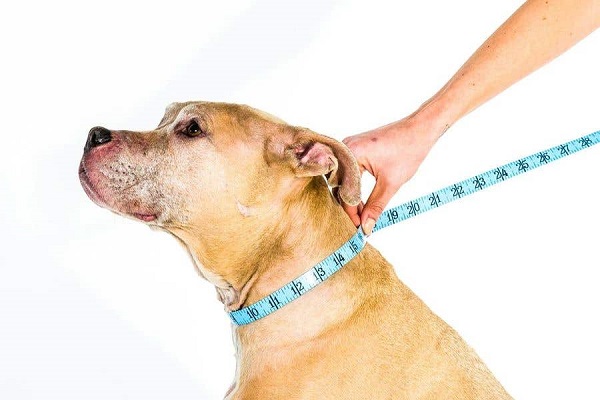
Measure the circumference of your dog’s neck. Do not forget the rules of measurement by slipping two fingers into the tape.
Step 2
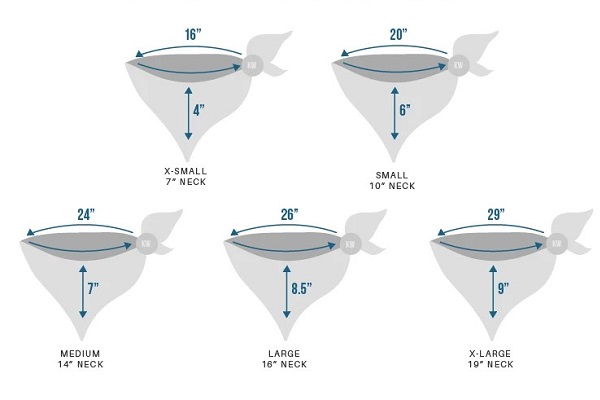
To get the exact measurement for the bandana, here is a simple trick. Subtract ¼ from the entire length of the neck circumference. If the total length is 20 inches, subtracting ¼ means 5 inches out of 20 will equal 15 inches.
Step 3
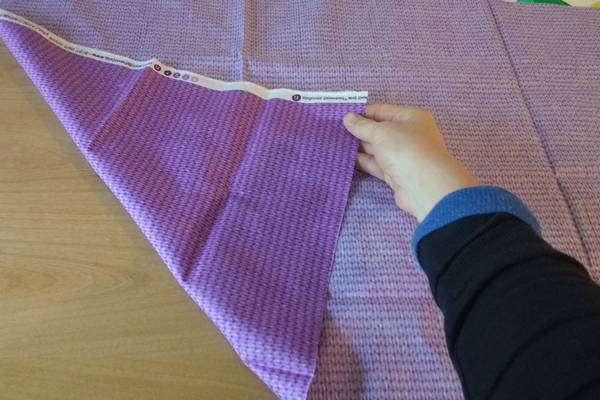
Stretch out the fabric material on a platform before you. Iron the fabric if it looks wrinkled.
Step 4
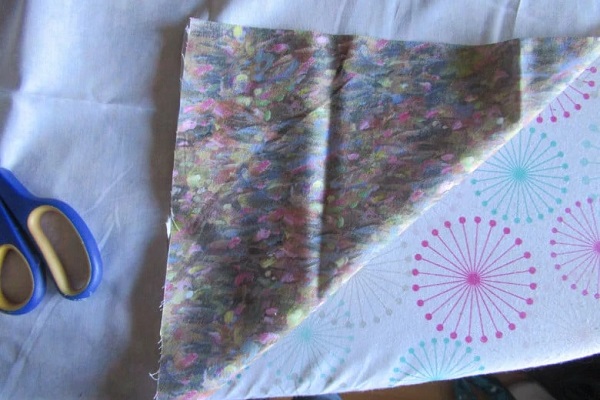
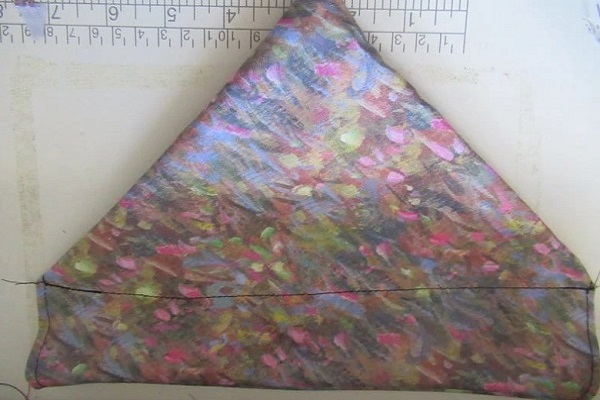
Fold the fabric into a triangle form. Take the bandana measurement from the longest edge. (Around where you have the fold)
Step 5
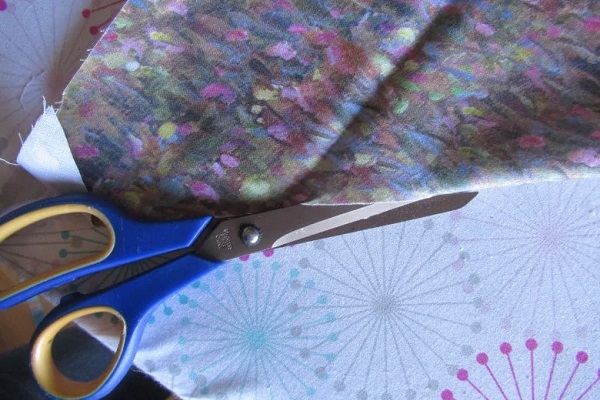
Use your scissors to cut through the entire fold line. You now have two separate identical triangle fabrics.
Step 6
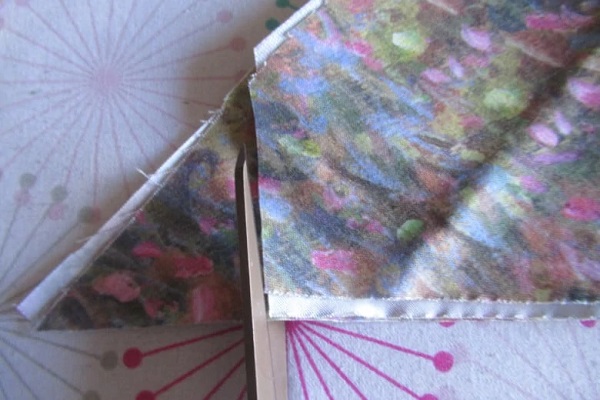
Cut out the triangular ends with scissors. This opening will house the collar. However, the more you cut, the wider the opening. Thus, make the opening ½ inch wider than the collar.
Step 7
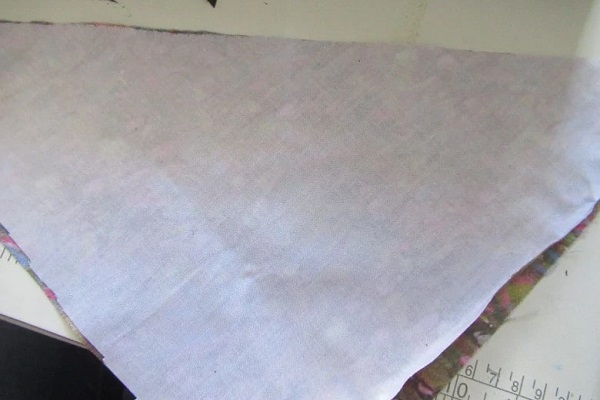
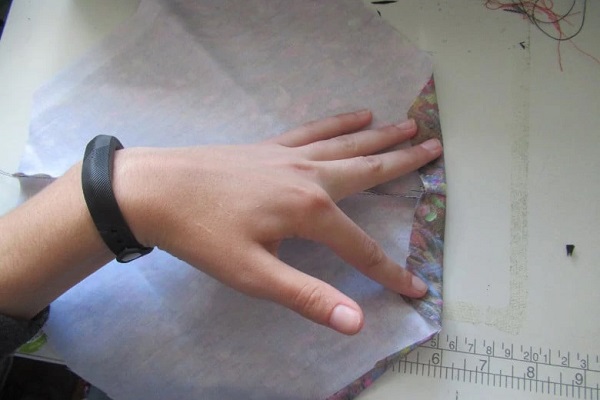
Make the bright printed side of the triangles face each other.
Step 8
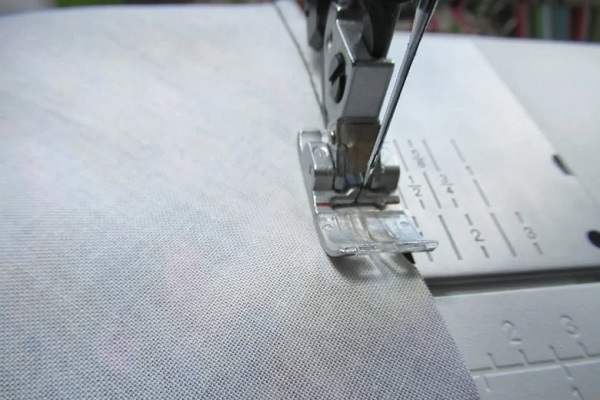
Run a straight stitch along the edges identical fabrics. Set your sewing machine on ½ inch away from the edges and then sew.
Step 9
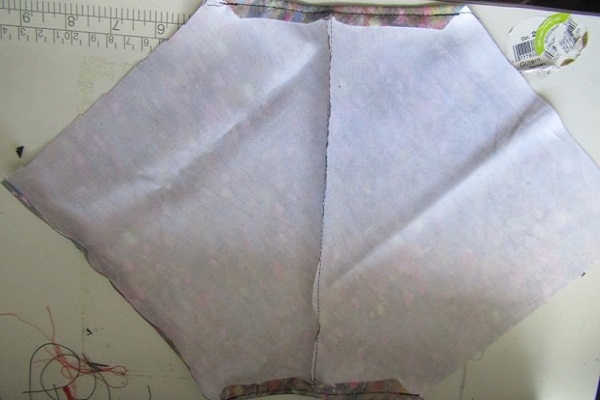
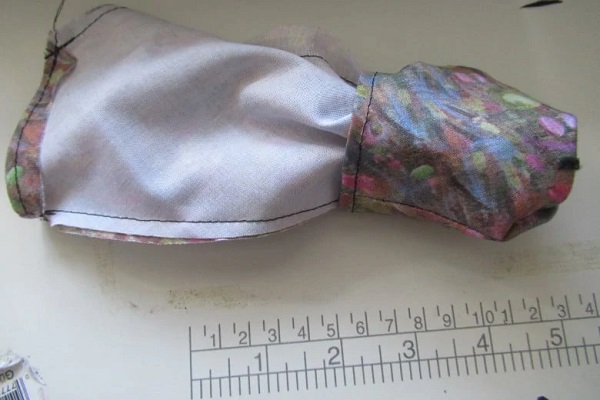
Unfold the fabric with the wrong side faced up. Next, fold and sew the ends of the corners you trimmed earlier on.
Step 10
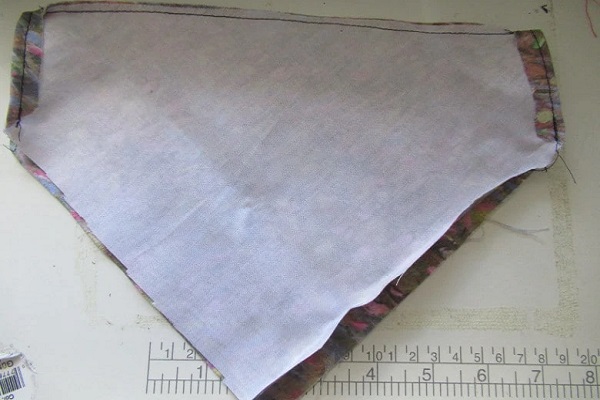
Fold the fabric together and sew the long edges on both sides.
Step 11
Use your hand to turn the fabric inside out until the whole bright side is out.
Step 12
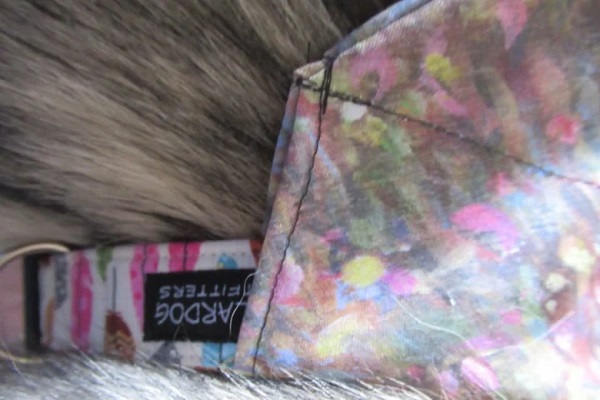
Run a straight stitch below the opening to help secure the collar.
Step 13
Insert your dog’s collar through the open tunnel and put the beautiful piece on your furry friend.
Making a Bandana Collar Without a Sewing Machine
Material/Tools: Fabric, scissors, mini-iron, fabric glue, and hem tape
First, measure your dog’s neck with a tape rule. To get the exact measurement for the bandana, subtract ¼ from the entire length of the neck circumference. If the total length is 20 inches, subtracting ¼ will equal 15 inches.
Step 1
Take a piece of paper and cut it into a square. Use your pen to draw a triangle shape on the paper. Now, use your scissors to cut out the desired shape.
Step 2
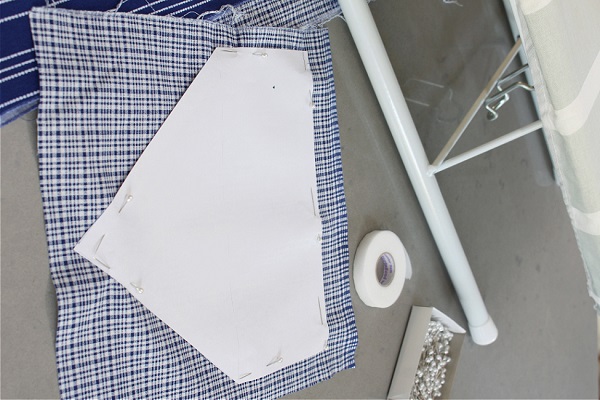
Once you have the paper pattern, place it on the fabric and use a pin to hold it in place. Or, you can fold the fabric and pattern into two and cut it out. But we recommend the full pattern for more accuracy.
Step 3
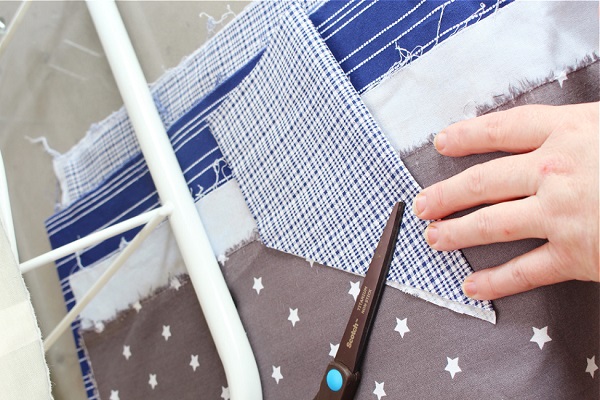
Cut out the fabric, fold and use scissors to trim out away the excess material. Then, remove the paper pattern from the fabric.
Step 4
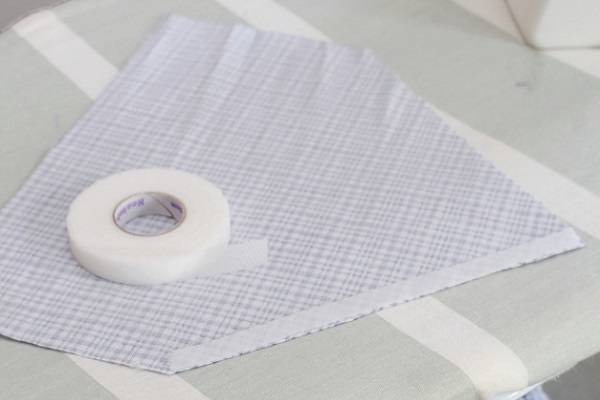
Use the ‘HEM TAPE’ to hem the edges of the fabric. Start hemming from the pointed side of the bandana towards the remaining part.
Step 5
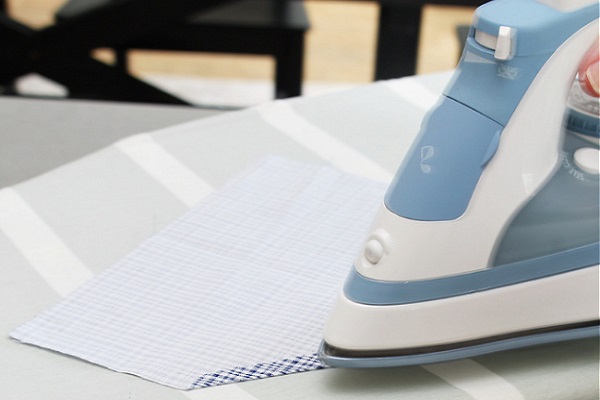
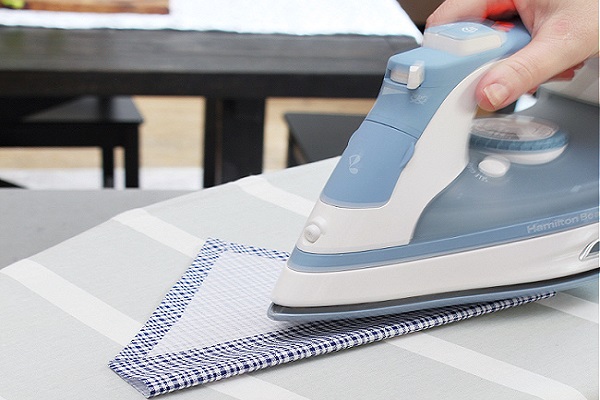
Heat your iron to a medium degree. Fold the edges of the fabric over the hem tape and press with an iron for 5 seconds.
Do this for all the edges, and flip over the fabric to iron the backside. You can use a pin to hold down the edges if it will make work easier.
Step 6
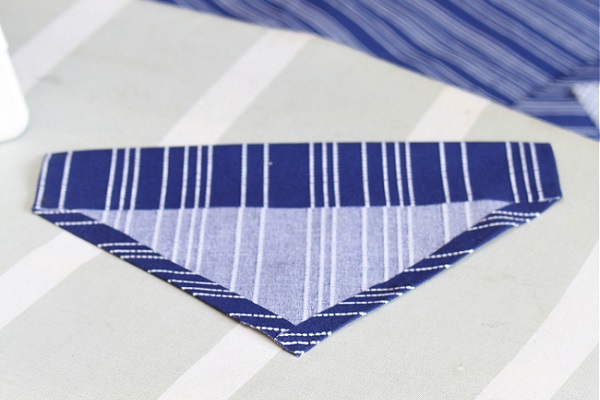
Fold the top edge of the fabric to get the triangle shape. Use the hem bond to secure the fold as we have in the image.
Step 7
Insert the collar through the opening.
Easy DIY Dog Bandana Collar By Cal & Pals
Final Verdict
Bandanas look attractive on dogs, but it is difficult to find the perfect size in the accessories store. With the above instruction, you can sure make a befitting bandana collar for your pet with just a little time and resources.
Apart from the fashion aspect of this collar, it has more health and security benefits compared to other similar products.
The majority of dogs feel comfortable, relaxed, and confident while having a bandana collar on their neck. Also, you can convert the fabric around your house into something adorable for your canine companion.
