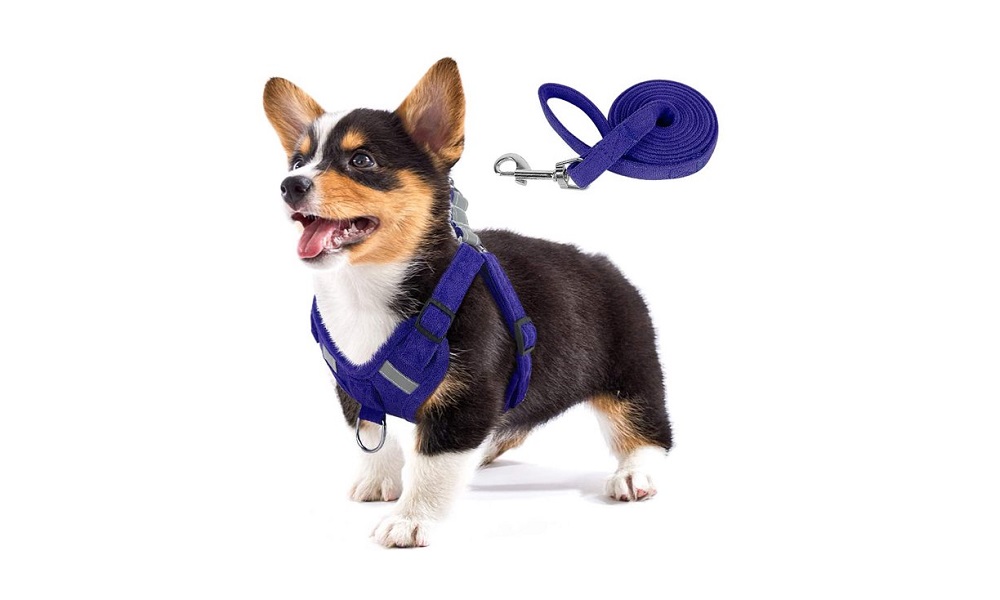
How to Make a Fabric Dog Collar
A good dog collar is befitting, comfortable, safe, and preserves your dog’s lifestyle. It is our responsibility to ensure our dogs are provided with reliable collars.
Fabric collars are something unique and different from every other collar. It’s beautiful and decorative colors are eye-catching and look adorable on dogs.
Fabric collars feel so relaxed against your dog’s coat without irritating. They are light and designed to keep your pet comfortable all day long.
They are known to be sturdy and made of quality materials. Fabrics are easy to find and easy to use. There are varieties of patterns for different dog categories and, they come as fashionable as you want.
The supplies needed for this task are a plastic release buckle, scissors, tri-glide slide, and durable D-ring. Materials such as desired fabric material, fabric tape rule, and thread are needed.
How do You Make a Fabric Dog Collar – Step by Step Guide
Below are the steps on how you can make a fabric collar in the comfort of your home. We have highlighted the simplest ways and steps to follow.
Step 1: Take the Proper Measurement
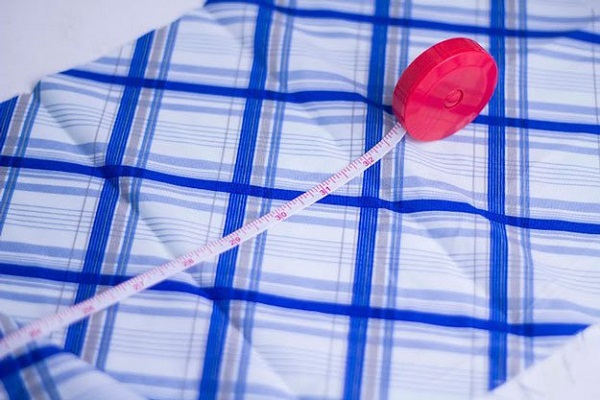
Make your dog sit in a relaxed manner, and use a fabric tape rule to measure the circumference of your dog’s neck. Multiply whatever you get by 1.5.
This will give you the exact length of fabric to cut. For example, if you get 10 inches for your dog’s neck, when you multiply it by 1.5, you’ll get 15 inches.
Step 2: Manage Fabric Material
Spread out the fabric on a clean platform right in front of you. If the material is rumpled, iron it out to enhance accurate measurement. Measure out the width of the fabric material (remember, we want to make an adjustable collar).
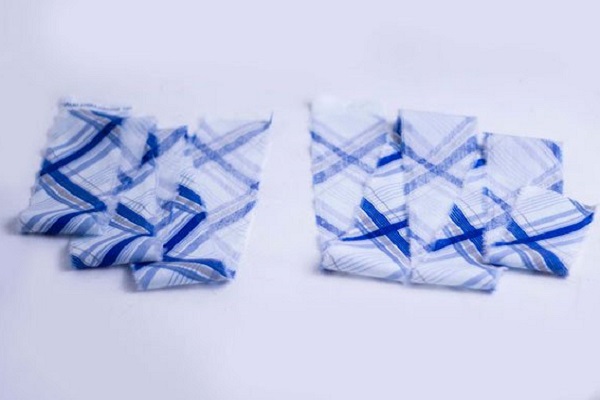
Step 3: Cut Two Identical Strips
Once you get the width and breadth of the fabric, use scissors to cut two identical strips using the same measurement. Make it 2” inches wide.
Step 4: It’s the Time to Sew the Identical Fabrics Together
Place the strips together with the brightly colored side facing each other. Sew by using ½ seam allowance on each side.
You will have 1” inch fabric left in between, just as it looks in the picture. Since our slider, buckles, and D-ring are 1” wide, it will fit perfectly into your 1” inch fabric.
Step 5: Turn the Fabric Right Side Out
Attach a safety pin to one end of the fabric strap and put it through the middle tunnel of the fabric strap. Push in the pin through the center tunnel as the rest of the fabric follows.
Keep pulling until the entire fabric is turned out to the brightest side.
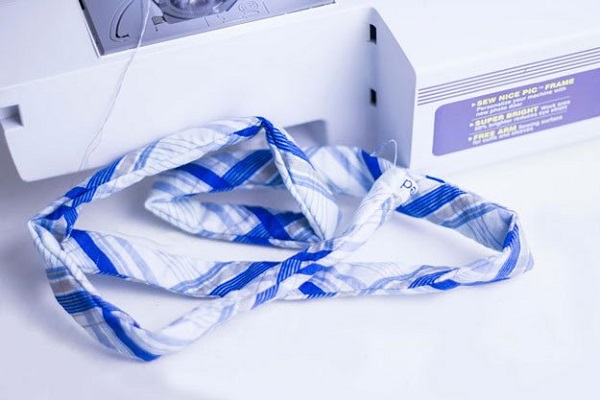
Step 6: Steam the Fabric with an Iron
Once you are done turning the fabric inside out, you’ll surely have a wrinkled strap and, this is where iron performs the magic. Put the appropriate setting on the iron and press the collar smooth and flat.
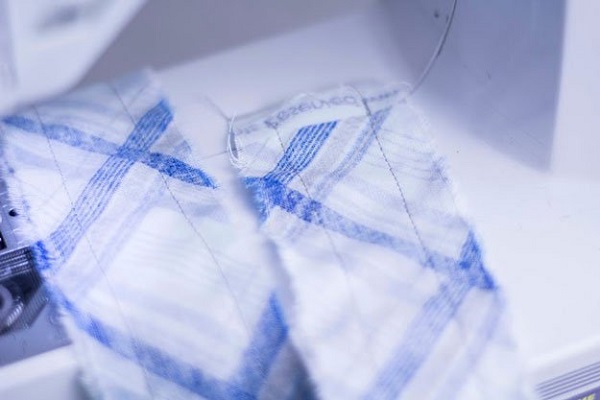
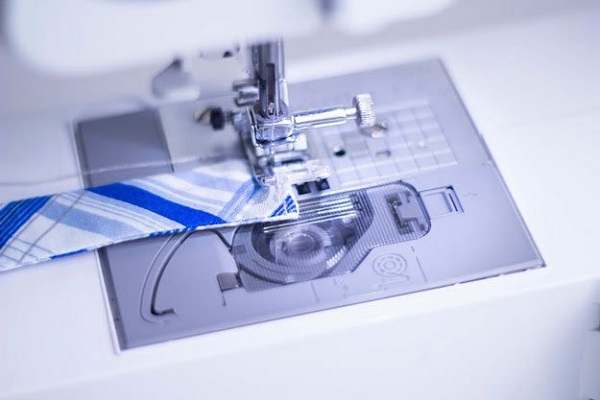
Step 7: Stitch the Ends of the Strap
After steaming the strap with iron, you have to sew the edges. Fold the rough edges inward, and topstitch with a sewing machine. Remember to run the stitch twice to secure the ends.
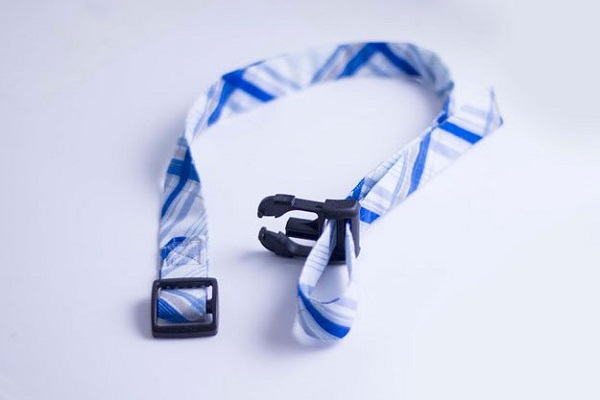
Step 8: Fix the Tri-Glide Slider
Well, the stressful part is over! Now we can start assembling. First, thread your strap up and over the middle bar of the tri-glide slider.
Ensure the fabric does not get twisted. Then, leave out 2” inches of the strap to stitch and secure the tri-glide.
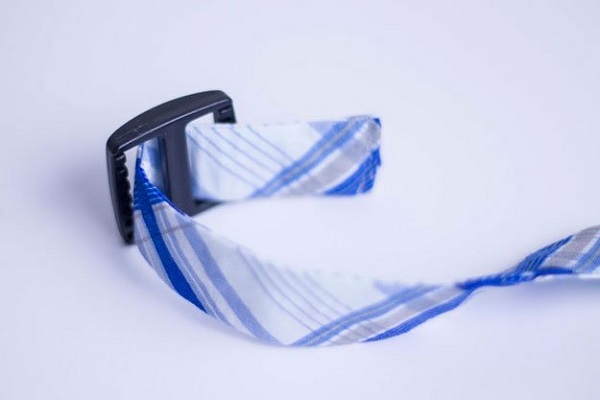
Step 9: Secure the Tri-Glide Slider
Sew that 2” inch using a box or zigzag stitch. Just like what we have in the picture.
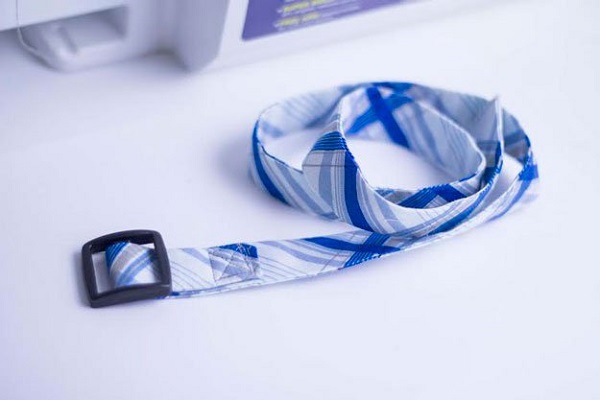
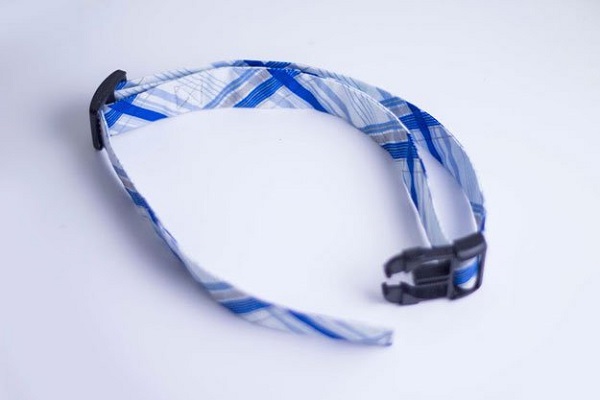
Step 10: Feed Through the Male Release Buckle
Now the tri-glide is in place, thread the strap up over the crossbars of the male buckle and thread it through the back.
Step 11: Fold the Fabric
Fold and feed it through the tri-glide slider again.
Step 12: Feed the D-ring Into the Strap
Slide the D-ring into the other end of the fabric. The D-ring is used for leash or other accessories attachment.
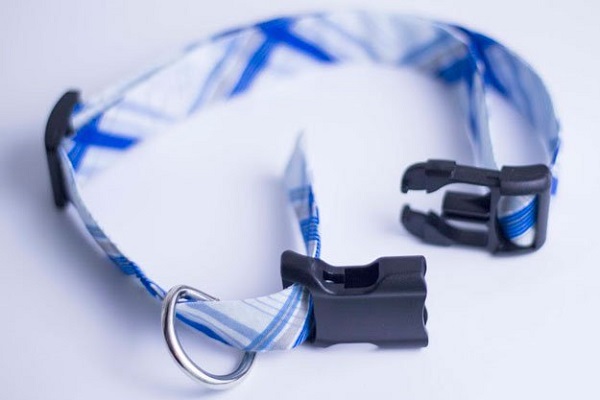
Step 13: Fix the Buckle
Fix the female buckle through the fabric strap. Leave out about 3” inches of fabric and use a straight stitch to secure the female buckle in place. Ensure you backstitch twice.

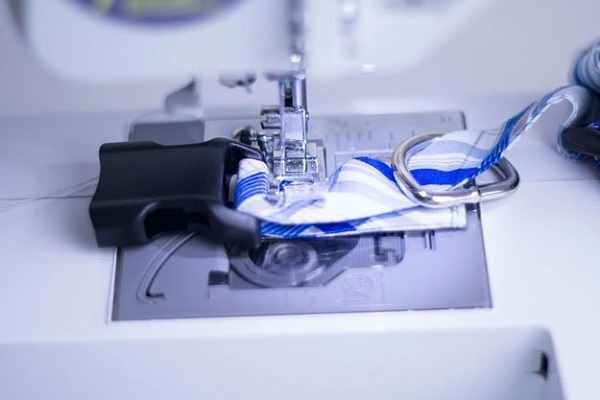
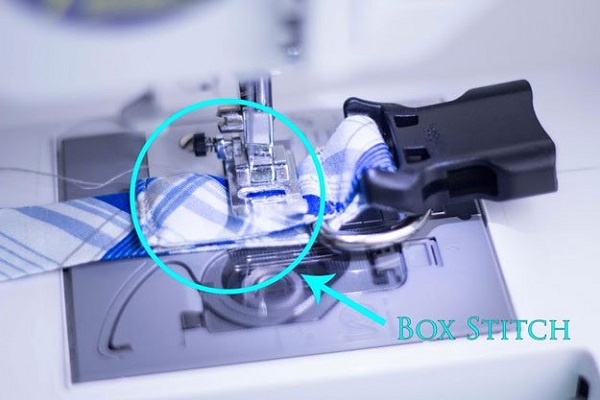
Step 14: Use the D-ring
Finally, secure the D-ring by using a box stitch. Pull the D-ring closer to the seam of the female buckle. Set your needle as shown in the picture and box stitch with a tight stitch.
Carefully trim the threads for a neat finishing.
Now that you are done, fix the male and female slide buckles and behold the wonders of your handwork!
Why Should You Need to Use a Fabric Dog Collar?
You will need a fabric collar for your dog because:
- The ultimate comfort a fabric collar offers is unmatched. Fabrics are made from soft and durable materials. Since they are so comfortable, several dogs don’t mind wearing a fabric collar all day long, thus making the collars ideal for everyday use. Also, fabric necklines are often a dog’s favorite because they are soft and lightweight and perfect for different activities.
- Fabric collar comes in varieties which is one of the features pet owners desire. Along with the comfort they offer, they are multipurpose and, you can easily find an option.
- The perfect sizing is another reason why you need to use a fabric dog collar. Most fabric collars are adjustable, making it simple to design a perfect size for your furry friend. No matter the size or breed of your pet, a fabric collar can fit perfectly.
- Fabric collars are inexpensive, durable, and easy to clean with just soap and water. Also, they are the best for dogs with sensitive skin.
Tips for Using a Fabric Dog Collar
Fabric collars are often attractive. But you should know that fabric materials need more care than others. Here are a few tips on using a fabric collar.
Regular Cleaning: Wash the fabric collar when you notice it is dirty. Using of hand to wash is advisable instead of the use of a machine.
If at all you would use a washing machine, put the collar into a pillowcase or bag. This will prevent the D-ring and plastic part from getting damaged and protect the collar from excessive rubbing in the drum or glass of the washing machine.
Also, the best temperature to set for washing a fabric collar is 30-40 degrees C. Wash together with similar colors of fabric and use a mild detergent.
Drying: Stretch the collar and position it under a shade to dry. Do not expose it to sunlight as the UV rays or harsh temperature. This can have negative results on the collar.
Rotation: The more collars you make for your dog, the longer the life span of the collars. The same thing applies to the clothes we wear. Have a spare collar that your dog can interchange from time to time.
Regular check-up: Collars should be inspected on a regular note to detect any fault they have. If the edges are fraying, use sharp scissors to clean off the edges.
Final Verdict
The purpose of a collar is not only to make your pet look fashionable but to keep them safe. Every dog deserves a collar to express its personality easy to spot out.
The steps above are applicable to make a fabric collar for both large and small dogs. Learning how to make a homemade dog collar can help save cash.
Fabric dog collars are known for comfort, softness, and flexibility. If you plan on making one for your dog, you don’t need to break a bank!
You can use resources around the house to make a beautiful piece for your dog while multiplying its wardrobe.
Want to work on more DIY dog collar projects? Check out our guides on: