How to Make a Dog Collar: DIY Dog Collar Tutorial
When it comes to our pets, we can agree that it is fantastic to go out of our way to make our pets feel loved and charming.
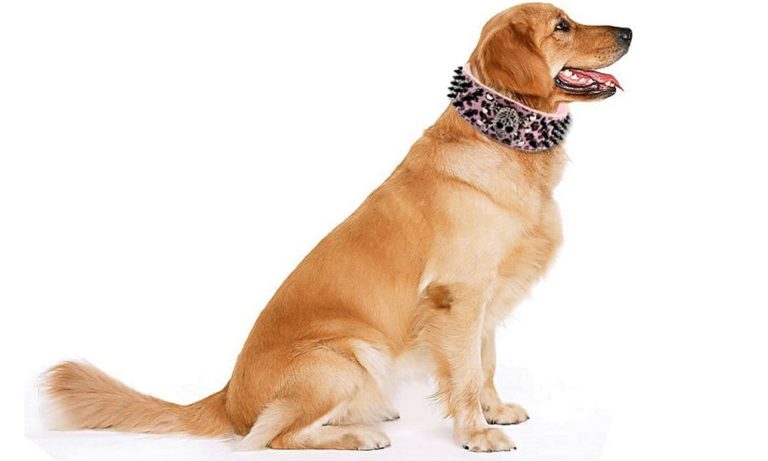
Over the years, we might have surprised our canine companion with many things, but making them different styles of collars speaks much and announces them among their fellow canine.
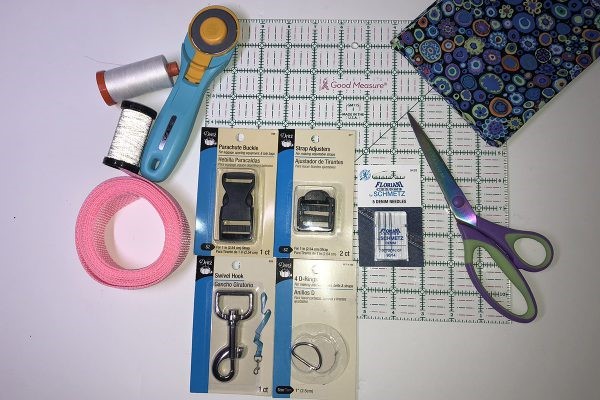
Getting the right supplies will produce a functional dog neckline. You will need a piece of well-built webbed material. Buying about 1 yard is advisable in case of error.
The purchase of hardware such as a D ring, durable buckles, and an adjuster is essential. For a perfect and customized collar, purchase fabric of your choice to cover the webbing (optional).
Preferably cotton, because it is easy to handle. You will need a matching thread, scissors, a lighter, and a sewing machine. Whole session of DIY tutorials on creating varieties of collars.
While conserving your money. Just in case you are overwhelmed on how to make a neckline for your pets, here are some steps towards making the best designs.
Step by Step Guide to Make a Dog Collar
Here is the complete guideline that helps you to make a dog collar by your own.
1. Measure Your Dog
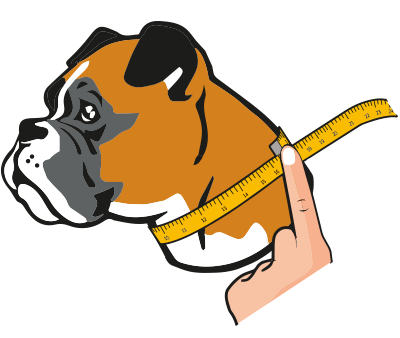
For you to make a collar that fits perfectly, measurement is the first rule. It helps you know the right size and length of material to use.
You can use tape to measure around your canine’s neck. The general neck size ranges between 9 – 22 inches. But for larger breeds, you would have to increase the neck circumference.
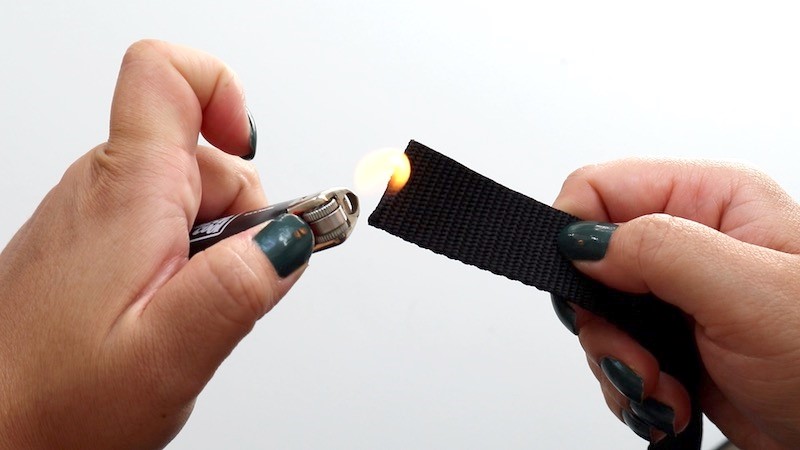
2. Cutting the Materials
a) Before cutting the webbing, ensure it is 11 inches longer than the initial measurement of your dog’s neck.
Use a domestic lighter to burn the ends of the webbing to prevent fraying.
b) Next is the fabric material. Add about 3.7” extra allowance to the width to help cover the sides of the web strap. You could reduce the width of the fabric.
If you want to make smaller collars. Ensure the length of the fabric is 2 inches longer than the length of the webbing material. This will give room for flawless finishing without exposing the web material.
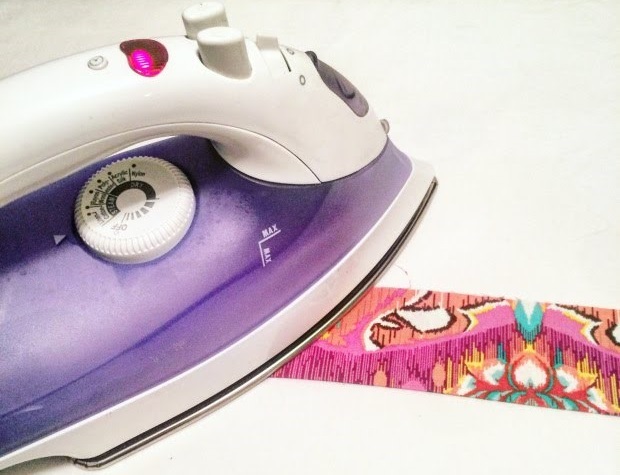
3. Prepare your Fabric
Before you move on, sprinkle water or spray a burst of starch on the fabric. Afterward, iron out the fabric to eliminate wrinkles. This would give you a more precise and smooth stitch.
4. Insert the Webbing
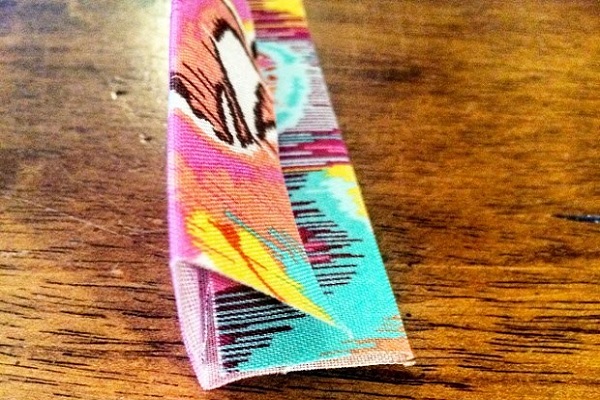
Fold the fabric in half length-wise and press
- The endpoint of the fold should look like this:
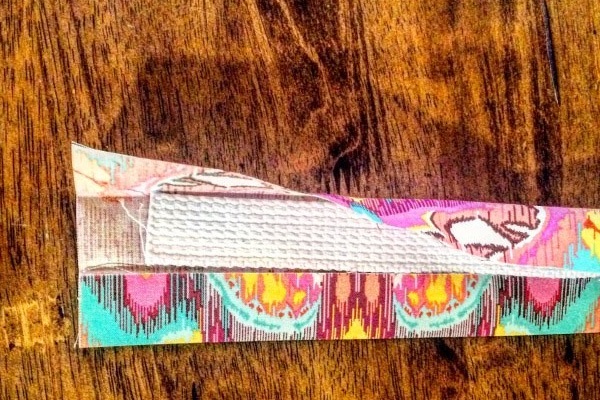
- Carefully insert the webbing into the fold over the left half so the right half fold can lap on the left fold for stitching.
The webbing material should be shorter than the fabric material. Afterward, clip the entire layers together with a household pin and iron again for perfection.
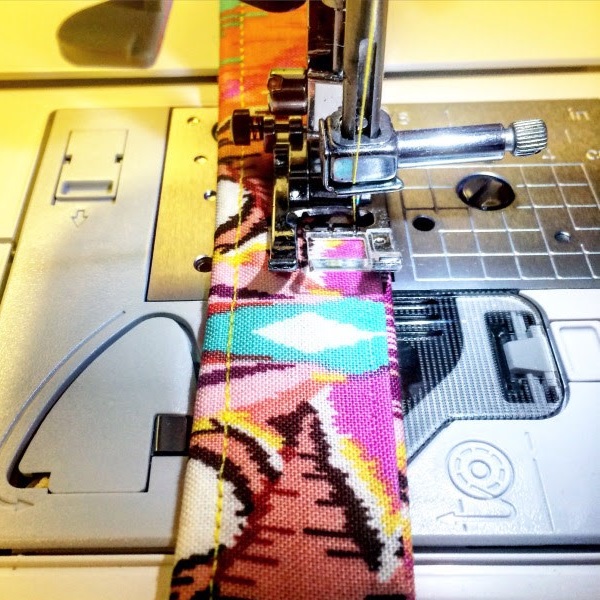
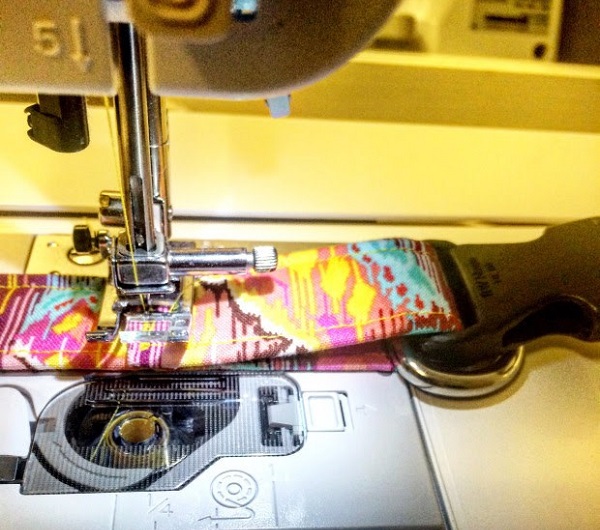
5. Stitch Properly
Load your choicest tread into the sewing machine. Sew the edges of the collar. If you don’t have a sewing machine, a needle and thread would come in handy.
While stitching, you need to ensure your fabric is perfectly attached to the webbing material. Sew in a straight line with a simple stitch pattern. After this step, you can attach the D-ring and the buckles.
- You can as well run a straight line across the edges of the fabric.
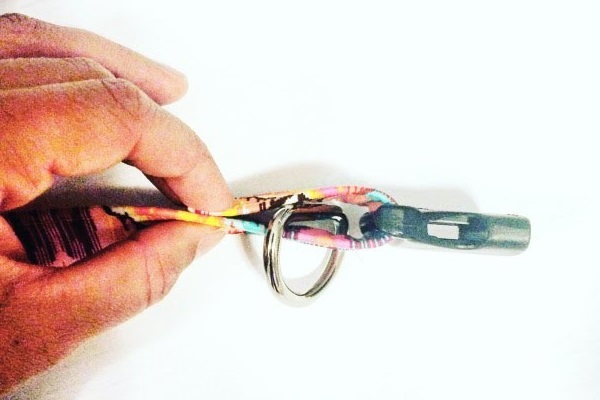
6. Tread one end of the strap through the adjuster ring. Leave about 2 inches of strap for seam allowance and to loop back under the adjuster. Ensure the strap doesn’t get twisted in the process.
7. Fold the end of the strap and triple stitch the seams or box stitch for proper reinforcement.
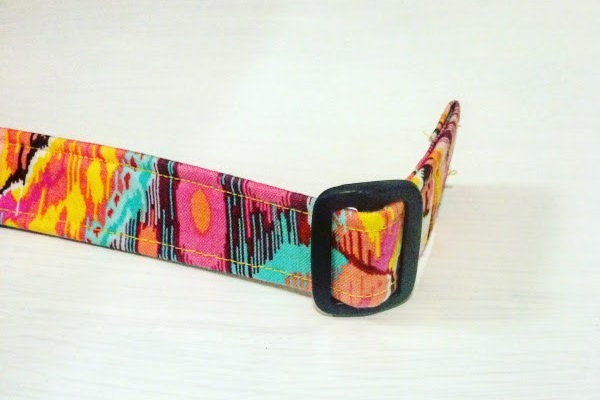
8. And then, insert the male parachute buckle through the other end of the strap. Pull the strap through the lower opening on the buckle.
Ensure the side of the prongs is on the top side of the strap. Then pull it towards the adjuster.
9. Afterward, insert the end of the strap back through the adjuster. It will make the first half of the buckle locked into position.

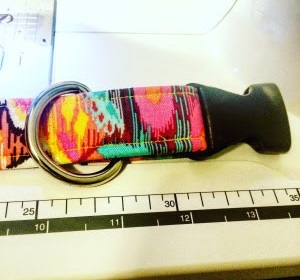
10. Insert the D-ring through the end of the strap. Next, run the strap through the first and second space of the female parachute buckle. Pull the strap till you get about a 3-inch allowance for sewing.
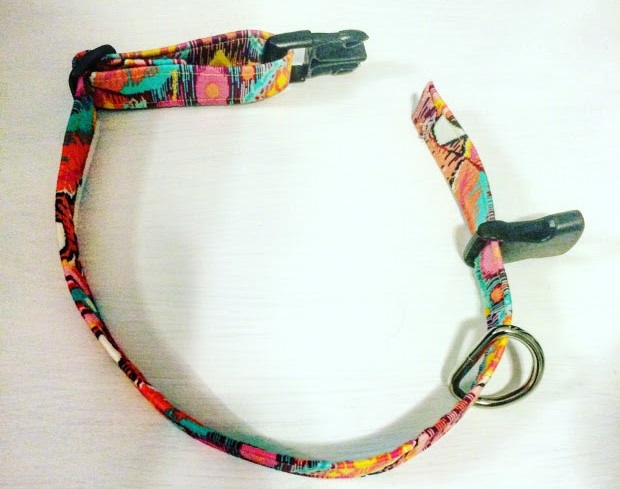
11. Fold the 3-inch allowance with the end of the strap facing inward, while the D-ring and female buckle are both inside the formed space.
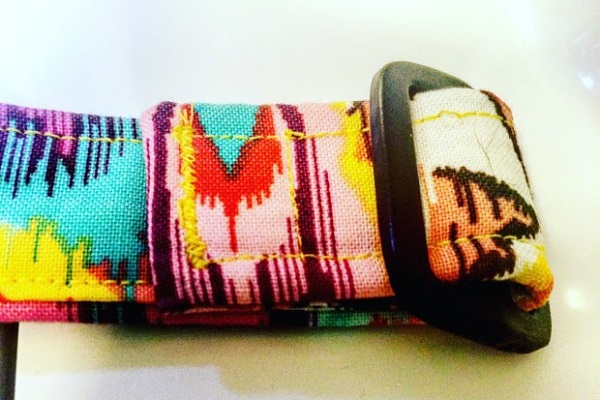
12. Triple stitch or box stitch the end of the strap properly.
13. Pull the D-ring towards the end of the stitches and make another reinforced stitching between the D-ring and female parachute buckle.
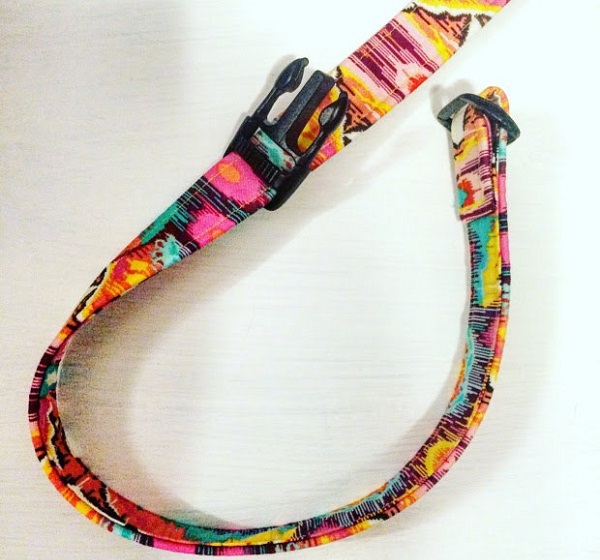
Clip the collar together and see the fantastic piece you made for your furry friend!
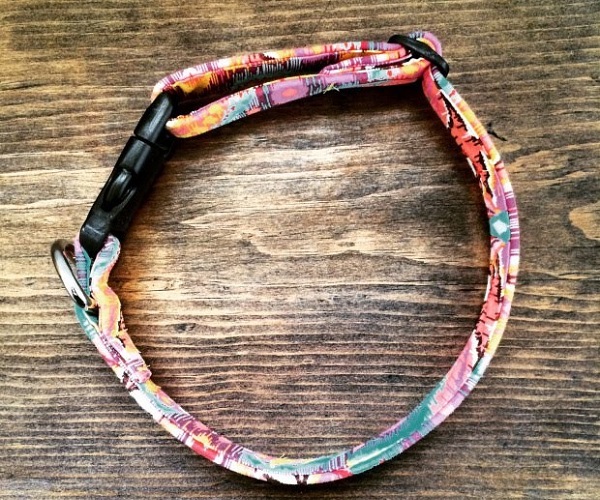
DIY Dog Collar Tutorial using your favorite fabric pattern!
Benefits of Using Dog Collars
There are some advantages of using collar for dogs are discussed below.
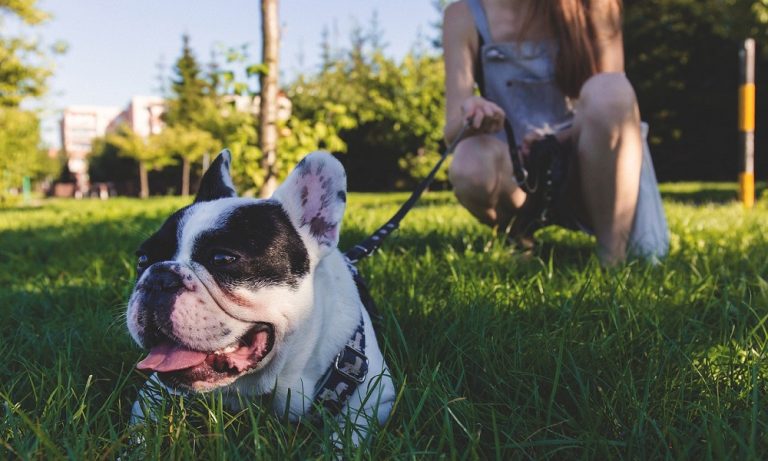
Safety: There are times when even a well-behaved dog does the unexpected, especially when you are having a walk with him. A collar and leash enhance the safety of your dog.
Other dogs, and people around. It prevents your dog from running into traffic or getting into a fight with other moving animals. Using a dog collar will install discipline and control your pet’s movement.
Easy Identification: A collar is not just for restricting and installing discipline. It can carry essential information about your pet.
The collar can help you identify your dog from a distance or in the crowd. Likewise, identification accessories on collars are vital for dog’s safety.
Dog strays from you, the tag can help anyone bring him back to you. Under normal circumstances, a dog collar should bear the name, address, and phone number.
Training: Using a collar on the dog makes him more inclined to train effectively. It will assist your dog during agility training, such as moving around and jumping over an obstacle.
If your canine is suffering from a short attention span, applying a dog collar will help you draw his attention. When it comes to making or purchasing a collar for your dog, you should consider the sturdiest ones that can resist constant abuse during training.
Final Verdict
Dog collars are specifically designed for your furry friend’s comfort, and it is essential to them. Making a dog neckline is easier than you think.
It gives you the flexibility to design according to your wish. You can create a more fashionable collar for your dogs with the resources you have.
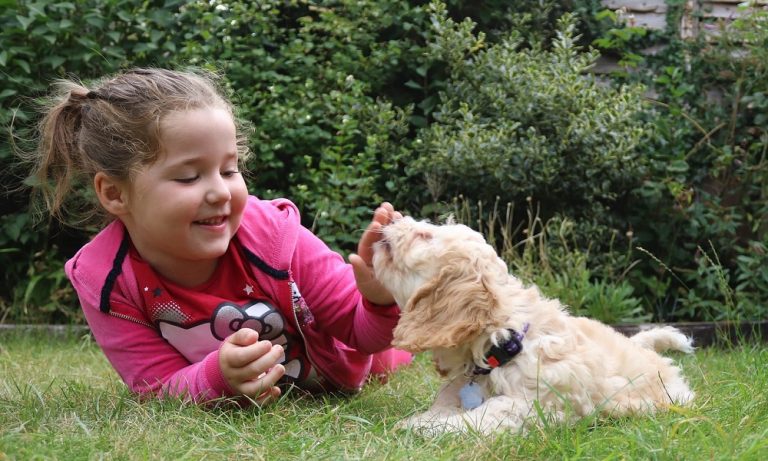
After reading these guidelines, we hope they enable you to prove yourself as a loving dog owner. You can finally make your canine companion a befitting stylish collar with the exact fabric you have in mind.
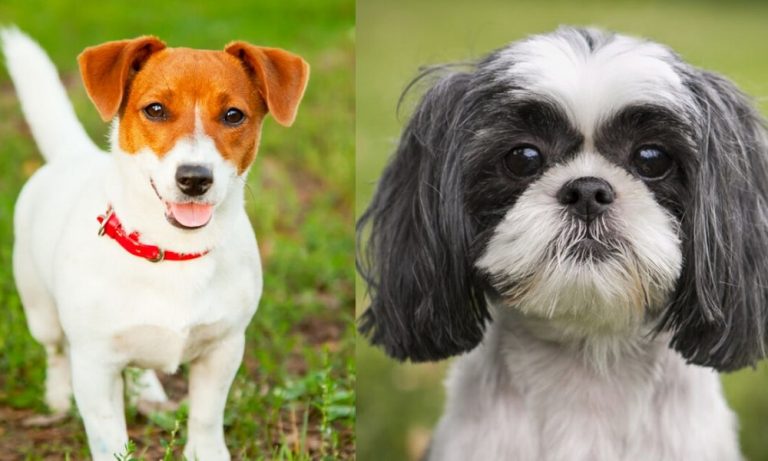
All you need is to consider your pet’s size, needs, and age before finalizing on making a brand new collar.
More DIY Project List: