How to Make a Paracord Dog Collar
Our dogs are our sure buddies, so why not shower them with love by making a personal gift for them. A dog collar is one of the best things you can make out of a paracord.
They are cheap and made with special material. Instead of buying a paracord dog collar from the pet store, take your time to make something more befitting and unique.
This collar is the best for those looking for something stylish and super strong. It comes out padded and offers extra comfort to your dog without irritating him.
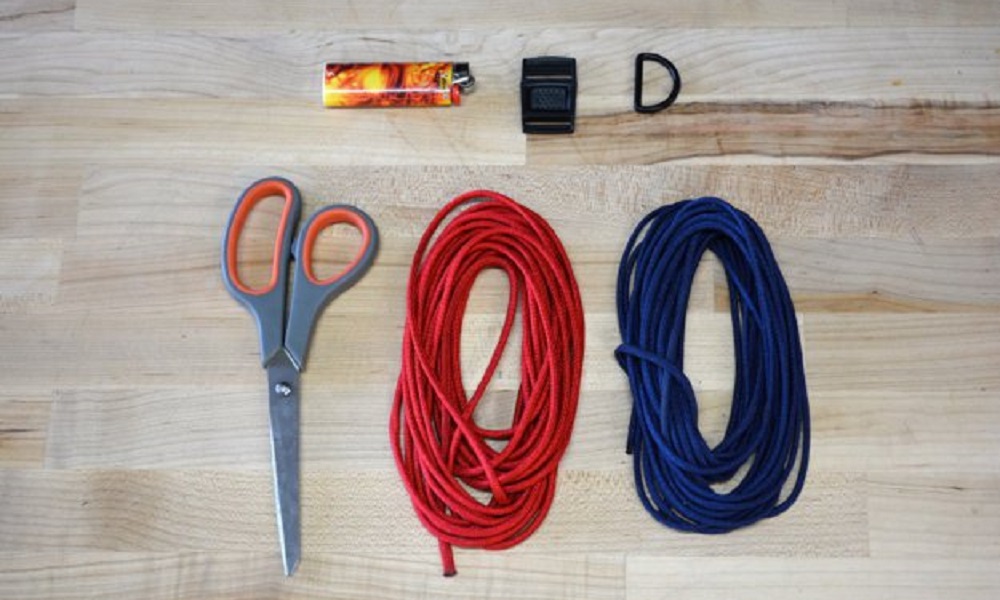
Here are the materials you need to make a paracord dog collar. You’ll need scissors, painter’s tape, lighter, plastic buckle, D-ring, fabric tape measure, and 550 paracords. Getting two colors of cords will make your artwork more fashionable.
Learn How To Make A Simple Paracord Dog Collar
Below are the guides on to make a paracord neckline on your own.
Step 1:
Measure the circumference of your dog’s neck using fabric tape. Ensure you slip in two fingers between the measuring tape and your dog’s neck.
This enhances hassle-free slip on and off from your dog’s neck. The amount of paracord you need depends on the breed of your dog.
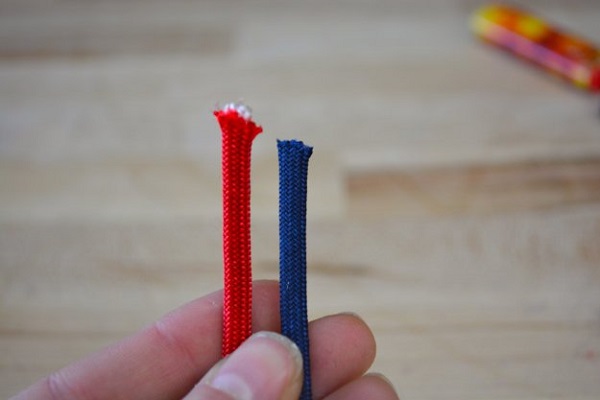
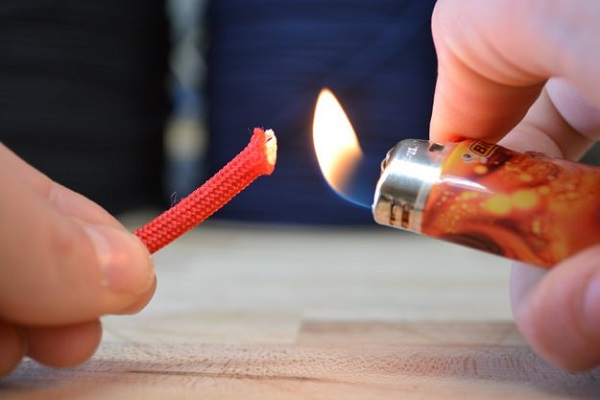
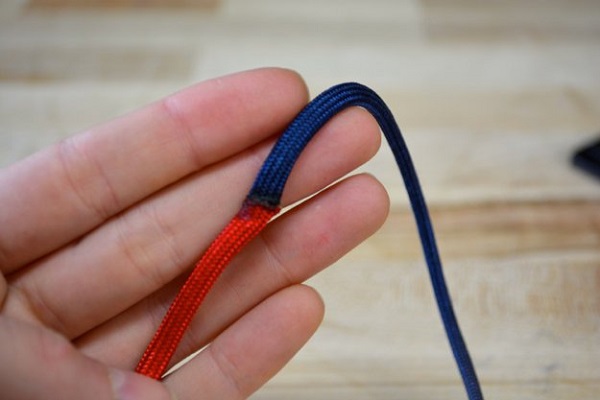
Step 2:
Join the two-piece cord to make a single cord.
Trim the end of the cord and then use a household lighter to melt the trimmed ends. While they are still hot, press them and mold the strands together.
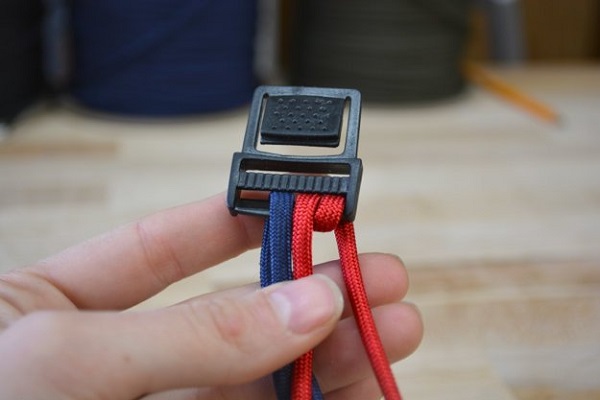
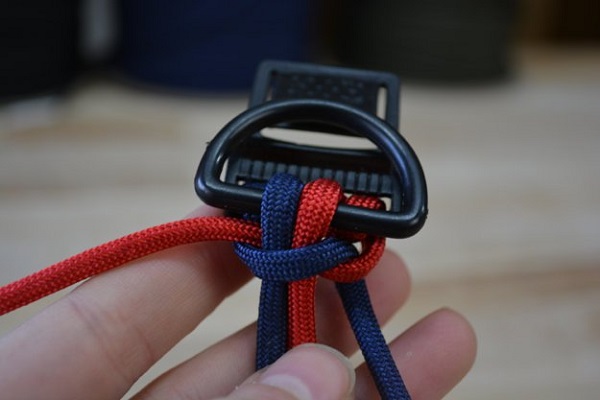
Step 3:
Secure paracord to the buckle
Fold the cord into equal half and run it through the end of the female release buckle.
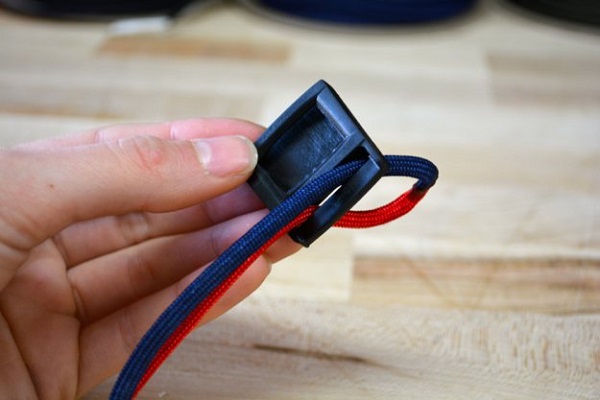
Tighten the cords to the buckle by pulling the two strands through it to make a hitch knot.
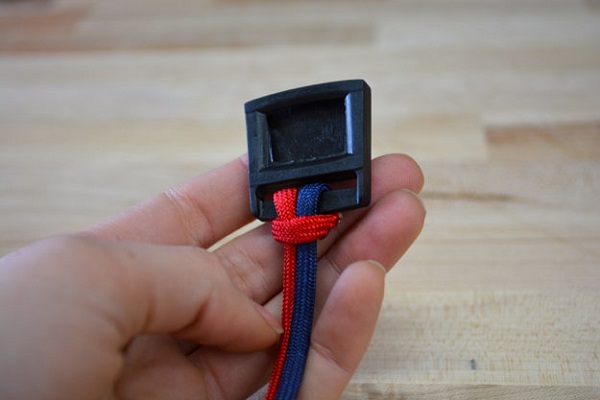
Step 4:
Prepare the length of the cords
Fix the two open ends of the cords through the male release buckle. Keep sliding the buckle along the cord until you get the accurate length of the measured circumference. Note, do not forget to add the easy-to-wear allowance.
Lay down the paracord to confirm the measurement of the length.
Once the length is confirmed, loop the open ends around the male buckle again.
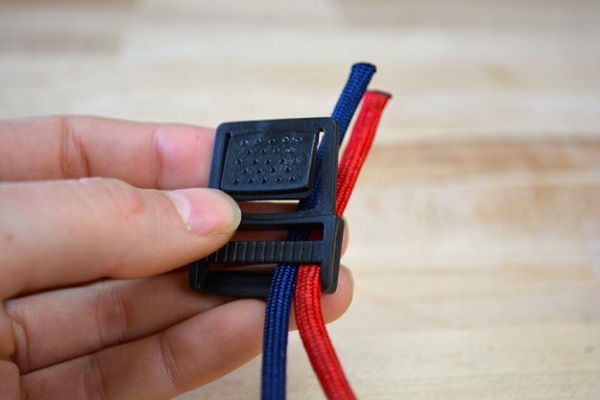
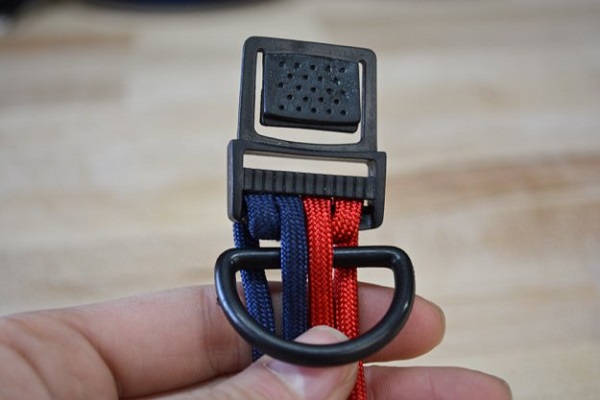
Step 5:
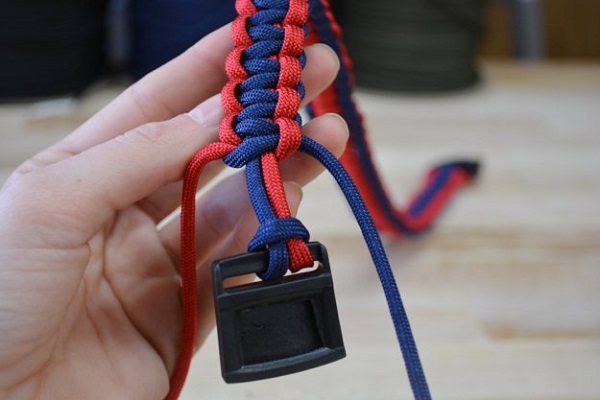
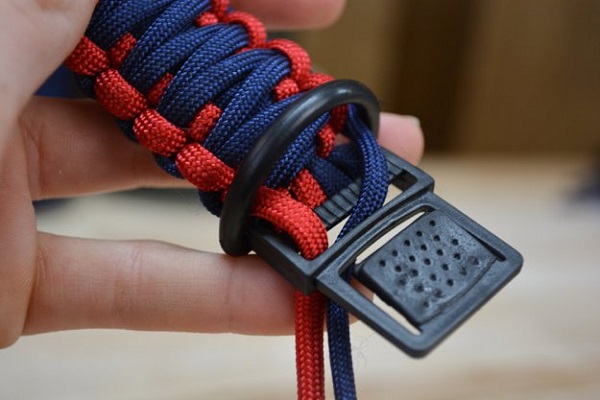
Slide in the D-ring
Slide in the D-ring through the other end of the collar and keep pushing it up until it comes in contact with the male buckle end.
Step 6:
Cobra weave
Now, this is one of the most tricking parts of making a paracord dog collar. First, take the blue cord over the cord strands then; weave the blue strand underneath the red strand.
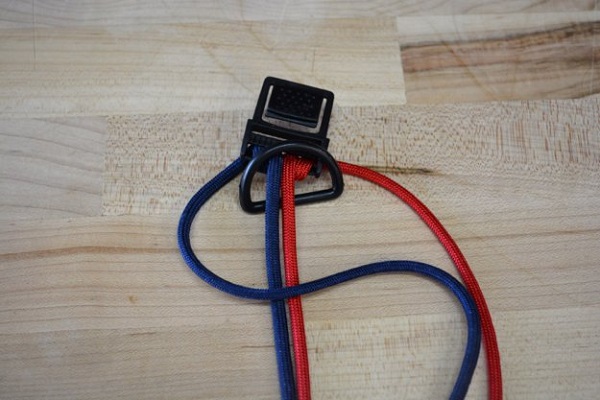
Loop the red strand under the center cords and bring it up through the loop made by the blue strand.
Use your thumb to push up the cord and then secure the cords by tightening.
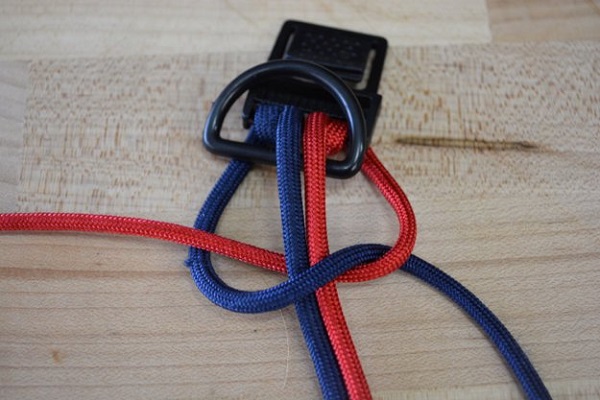
Do the same thing to the right side by taking the blue strand over the cords.
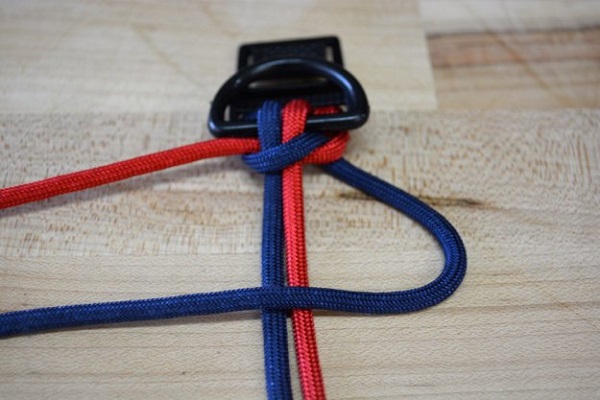
Place the red strand over the blue strand.
Loop the red strand under the center cords and bring it up through the blue strand.
Use your thumb to pull the cords till it is tight.
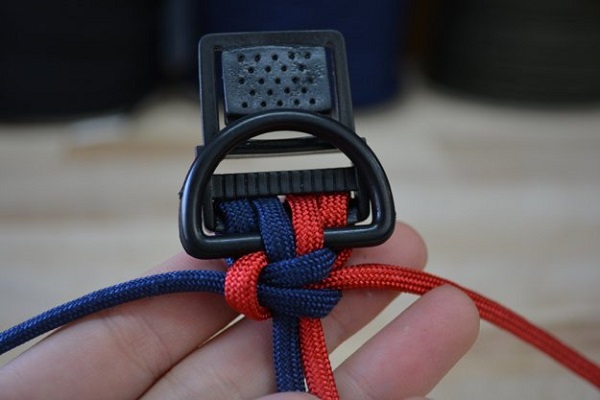
Repeat on the left side.
Continue the weaving by alternating right and left.
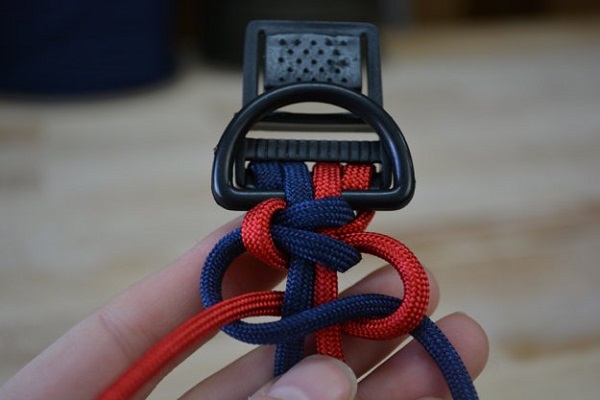
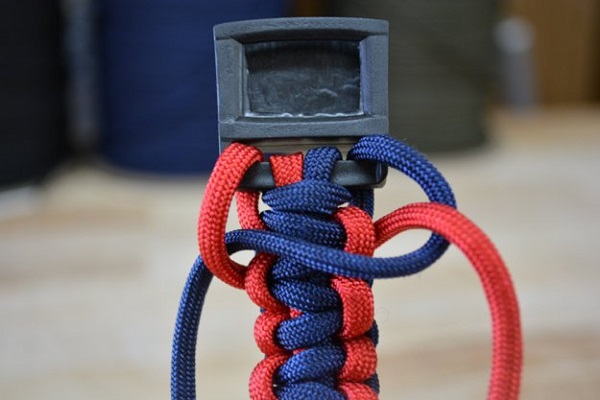
Your artwork should look like this.
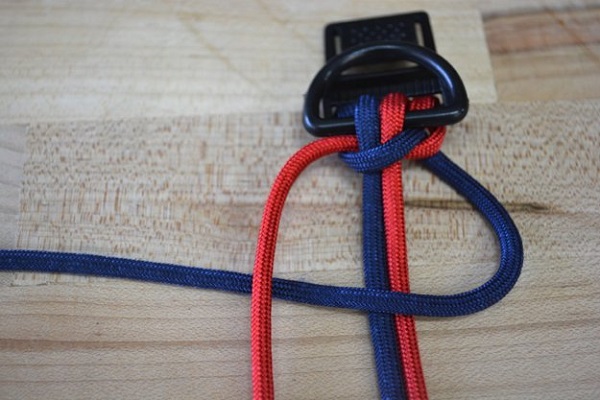
Step 7:
Continue weaving until you get to the end of the collar and can’t set another weave. Pass the open ends of the strands through the slit on the buckle to ensure a secured connection.

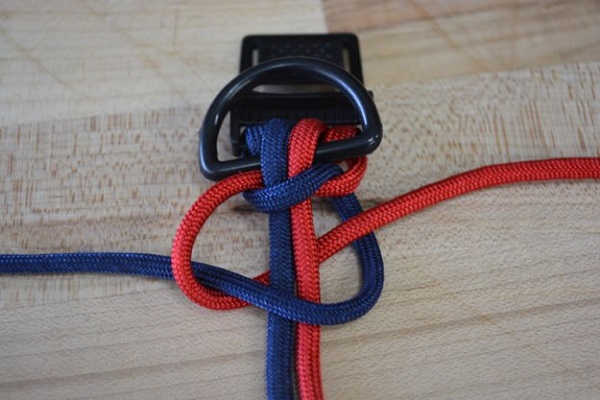
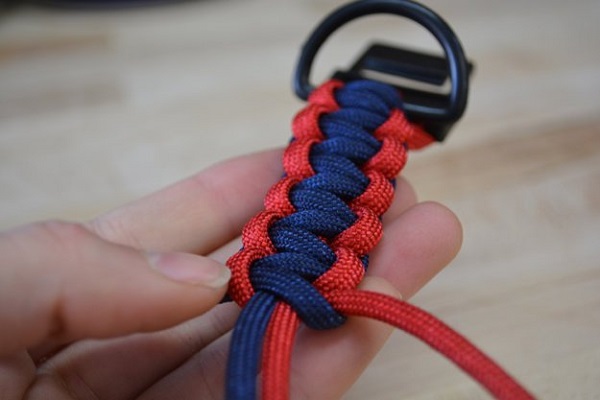
Step 8:
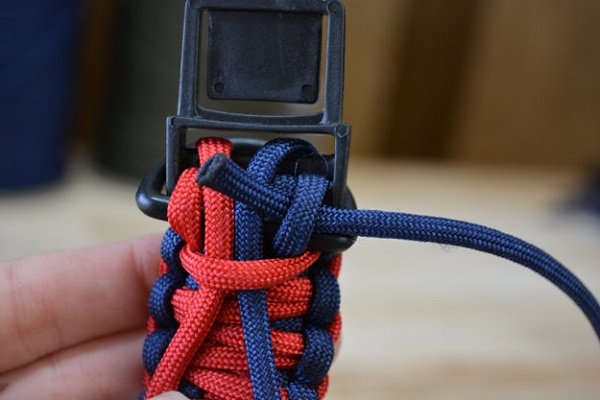
Pull the cords and get set for King Cobra weave
Weave it the same way you made the first cobra. First, start with the blue strand again (to keep the color pattern consistent, you need to start this stage with the same color strand used at the beginning).
Now is the time to make the King Cobra!
First, loop the red strand underneath the blue strand and pull it out on the other side.
Tighten!
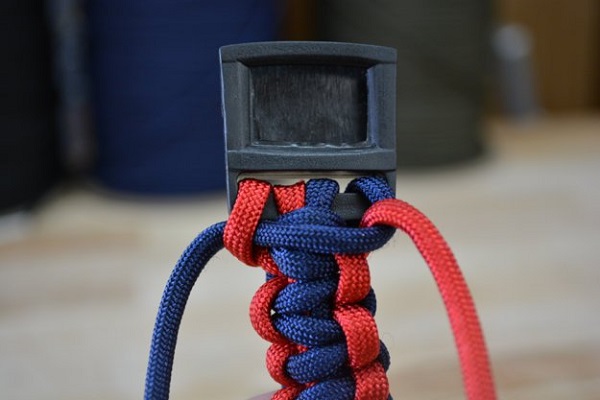
Keep looping and tightening the blue and red strand alternatively and correctly.

Continue this process till you get to the end. Ensure you get close to the position of the D-ring.
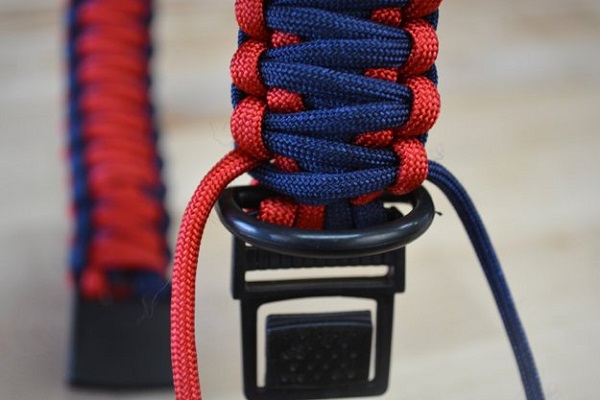
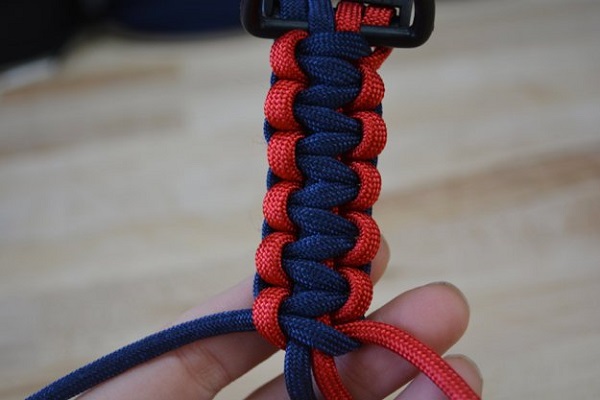
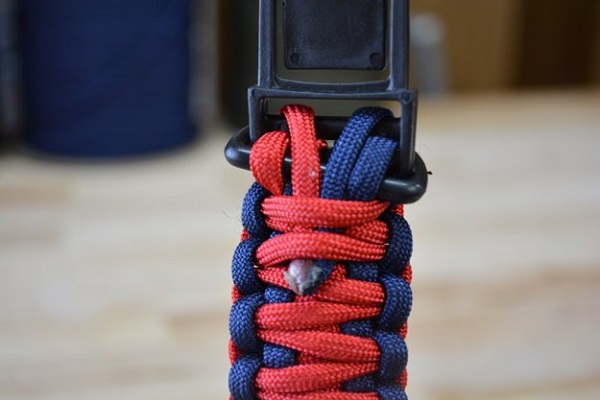
Step 9:
Run the ends of the remaining strands through the opening of the D-ring, and fix it into the open space in the buckle.
Step 10:
Here is the last step and, it entails wrapping up and securing the paracord dog collar. Now, turn the collar to the other side and thread the strands through 3-4 loops. This will prevent the collar from loosing off your dog’s neck.
Afterward, fasten the end securely and trim the excesses with scissors. You can close and join the tips of the strands together with a lighter.
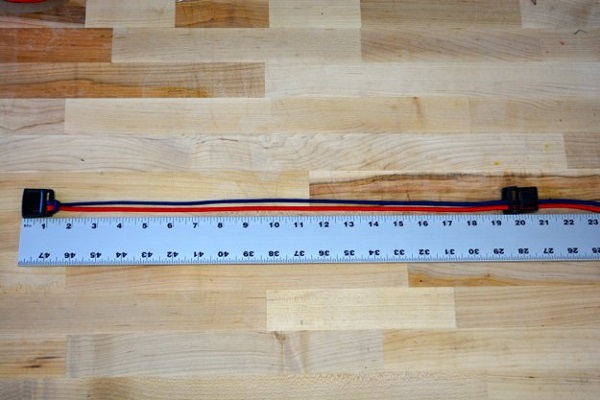
Now, check out the beautiful piece you just made for your canine companion!

Final Thought
Paracord accessories are fantastic and easy to make if you follow the steps. Beyond its fashionable look, it is sturdy and water-resistant. Your dog can wear it for long while saving your cash for other vital needs.
Paracord is available in varieties of colors and patterns. It is very affordable and durable. It is hard to find a collar that beats the features of a paracord collar.
This collar is suitable for dogs of all ages and fits perfectly into the neck without slipping off. Also, if your dog outgrows this collar, you can recycle it into another accessory.
More DIY Project List: