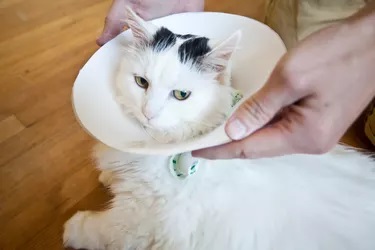
How to Make Cat Cone Collar
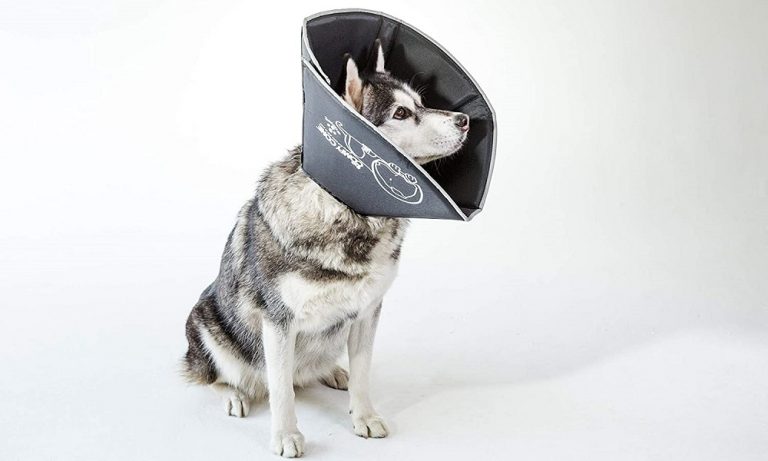
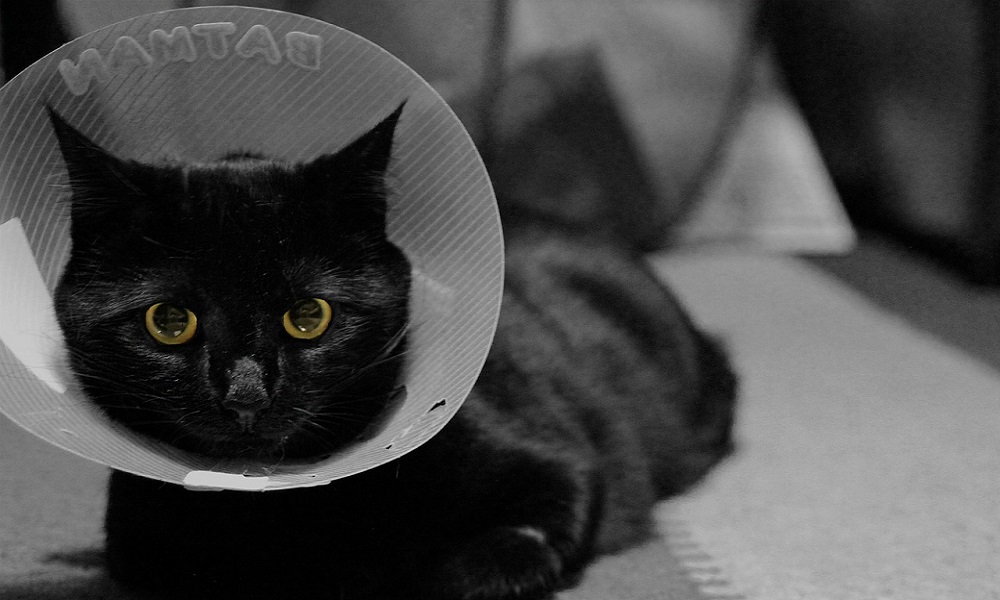
A cone collar is known to enhance the well-being of your pet. Cats can react to various skin conditions either through chewing and licking.
A cone can be used as a preventive device to stop cats from behaviors that can cause skin damage or life-threatening infection.
If you have a cat, the good news is that you can craft a homemade cone collar for your dog. It will save you from spending in a pet store and enable you to make your cat’s exact size.
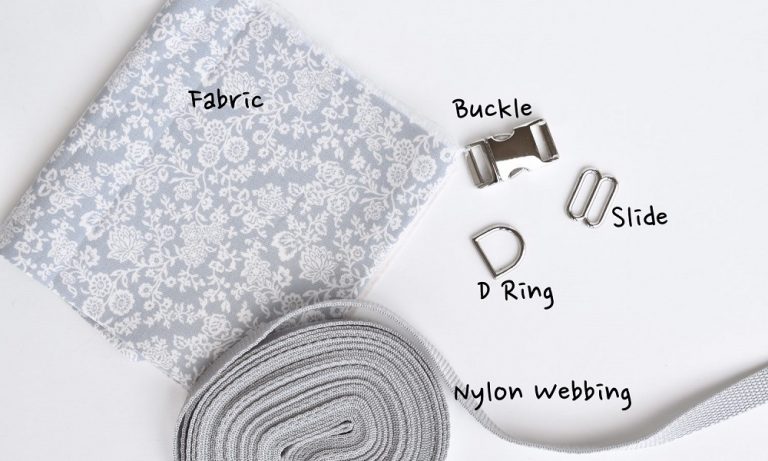
You can create cone collars from different materials such as hard plastic or soft materials, cardboard, or carton. To make a cone collar, here are a few things to purchase. Pen/pencil or marker, seal tape, scissors, and ruler.
When Does It Necessary to Use Cone Collar for Cats?
Cone collars are helpful in many circumstances and situation, but the common time includes:
Due to Following Surgery: Anytime your cat goes through surgery, he will have an incision, which will trigger chewing and licking behaviors.
Wearing your cat a cone collar is the best natural remedy for mouthing behavior and will prevent him from ripping out the stitches. Wound exposure would lead to life-threatening infection.
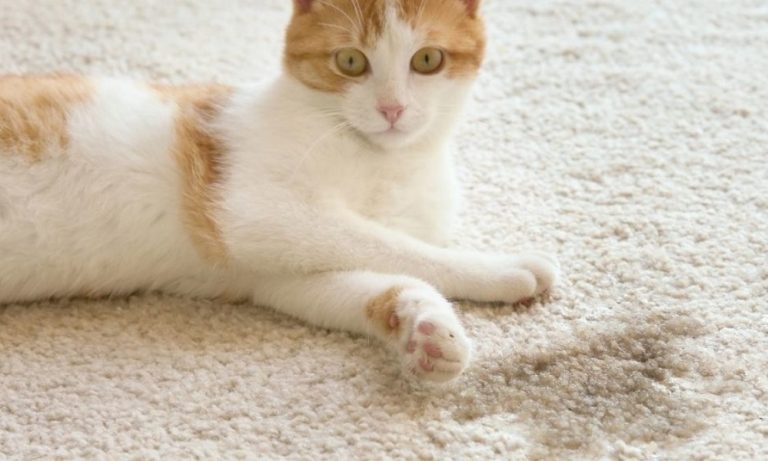
When Battling with a Skin Condition: Different types of skin conditions are common among cats due to their curious nature of sneaking around. Most skin problems are triggered by chewing and licking.
Skin infections can be treated with first aid or a vet’s help. But, during the healing process, you need to keep your cat’s mouth away from the affected areas.
Cats with Chewing and Licking: A cone disciplines a cat that has developed a behavioral problem with chewing and licking.
Allowing your cat to keep mouthing its body can result in secondary bacterial infection. A cone collar will help address this behavior.
2 Ways of Making a Cone Collar for Cat
1. Make a Cat Cone Collar with Cardboard
Materials: Compass, cardboard and pencil and scissors
Step 1
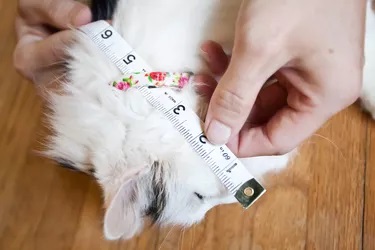
Ensure your cat has a collar on his neck; this will help with the precise position for the cone. Use a tape rule to measure the collar rest position to the tip of your cat’s nose.
Add 1” inch for allowance. Measure the circumference of your cat’s neck to determine how large the cone collar would be. Note that this type of collar ought to fit snugly for effectiveness.
Step 2
Spread out the cardboard or carton on a solid platform right before you.
Step 3
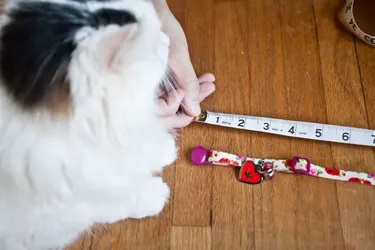
Next, remove your cat’s collar from its neck and measure the length. It will help determine the diameter of the collar. Add an extra ½ inch for easy slip on and off.
Step 4
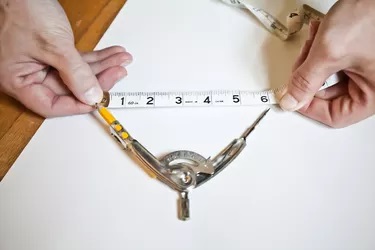
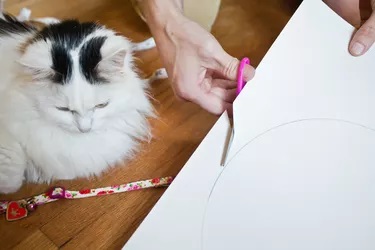
Get your compass ready by inserting a pencil into it. Open wide the compass and set it according to the collar-to-nose measurement of your cat. Gently use the set compass to draw a perfect circle on the cardboard or carton.
Step 5
Use scissors to cut through the traced circle.
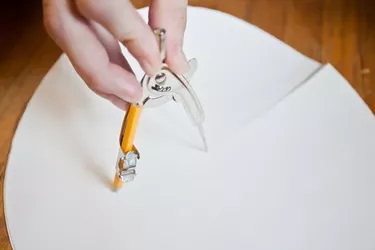
Step 6
After cutting out the circle, set your compass to half of the collar’s length measurement. For instance, if the collar length is 12” inch, set your compass to 6” inch. Do not forget to add the ½ inch allowance. Then, draw a circle in the center of the cardboard.
Step 7
Use scissors to cut out the center circle.
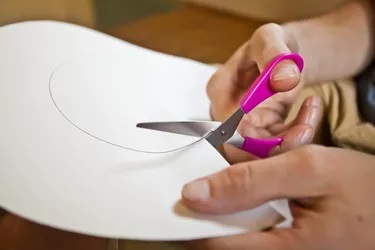
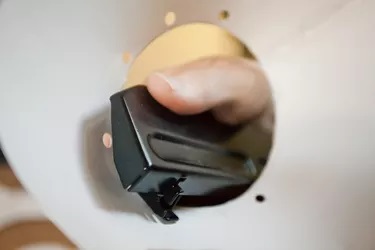
Step 8
Fold the circle to get a cone shape and use seal tape to bring the edges together. Alternatively, you can use a brad or paper stapler, but ensure the pin would not injure your cat.
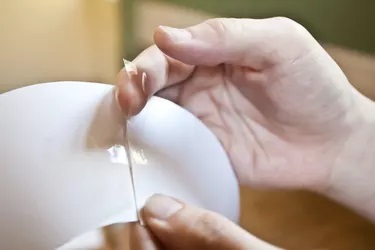
Step 9
Use a punch to make about four to five holes around the inner circumference. Make the holes about 1” inch away from the edge.
Step 10
Use a light strap or ribbon to attach your cat’s collar to the cone. Tread the ribbon through the punctured holes and your cat’s collar. Knot the end of the ribbon together to keep the collar in place.

Step 11
Make your cat sit in a position. Then, insert its head through the bottom hole of the cone collar.
Read More: DIY an E-Collar for a Cat
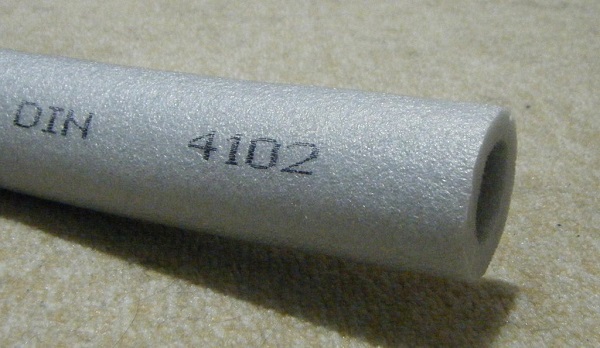
2. Make a Cat Cone Collar with Foam Pipe
Material: Foam pipe, plastic tape, shoelace or string, and marker
Step 1
Measure the diameter of your cat’s collar to help calculate the length of the foam required. The amount of pipe foam you want varies on the size of your cat. However, you can overestimate the pipe foam because it is easy to remove excesses.
Step 2
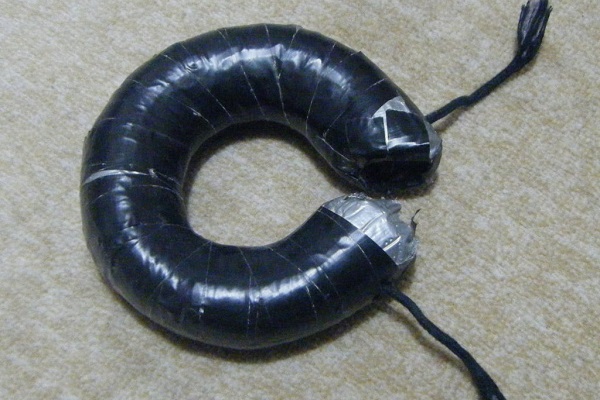
To form a bend with the foam, you need to cut out some material from inside the foam by creating a sawtooth pattern.
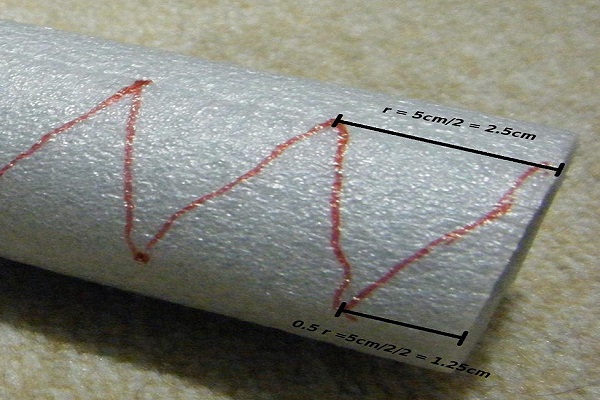
Step 3
Just like in the picture, use your ruler and marker to make a zigzag pattern on the pipe. The material cut out should look like equilateral triangles. And then, check the bends to ensure the pipe hole is more flexible.
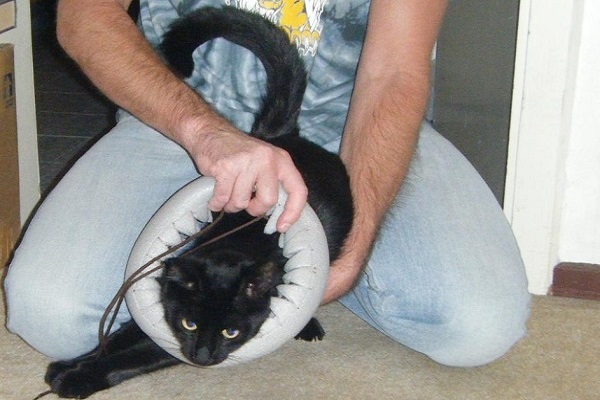
Step 4
Tread the string through the tunnel of the pipe foam. Place it on your cat’s neck and keep tightening until you get the fittest tie. If you observe the pipe foam is longer than expected, you can reduce the length.
Step 5
After you have achieved the right length, proceed to tape up. The purpose of the tape is to retain the circular shape of the collar. It also provides an easy-to-clean surface. Use the tape to cover from one end till you wrap the entire pipe foam.
For proper maintenance and hygiene, you can wipe the collar with alcohol from time to time.
Some Important Tips
- Make the cone fitted so it can snug around the neck of your cat.
- Do not forget to apply two fingers rule of measurement. Meaning, two fingers should be able to slip between the cat’s neck and collar.
- Extend the cone collar a bit longer beyond the tip of the nose of your cat.
- Ensure that the collar allows free ventilation and airflow.
- Ensure the hard edge of the collar is not mounting pressure on your cat’s neck.
Verdict
A cone collar helps with uninterrupted time for healing after stitches or injuries. Often time it doesn’t take cats a minute to lick and bite out medication.
Hence the use of a cone collar will save you from an unexpected trip to the vet. Furthermore, the cone’s primary duty is to supervise your cat in your absence.
A cone can prevent your cat from sneaking out through the small space in your fence. To save time and money, we have given ideas and illustrations on how to make them at home.
You can use materials around your home to craft a comfortable and befitting cone collar for your dog. No sewing machine is required!