How to Put a Collar on a Cat?
We will be talking about cats and how to get them to wear a collar. When it comes to dogs, getting them to wear a collar is not much tricky; give the canine some treats, let him observe and if he approves, you can put it on simple.
Cats are more like having a teenage pet. From tiny holes to the wide-open yard, cats love to explore places. They are quite specific about their physical comfort and environment.
According to an estimate, cats can go through holes that are a little bigger than their head. This level of flexibility makes felines more sensitive to a cat collar strap than other pets.
It is important for your pet’s safety as it can help identify your cat. Putting this on a cat is not an entirely impossible task. What you need to keep in mind is that punishment will not get your kitty to accept the collar.
His favorite treats and a worthy distraction can get your pet to wear them. We will be talking about the steps involved in introducing a collar to your cat and important tips.
How to Put a Collar on Your Cat? – Step by Step Guide
Cats are different than dogs are therefore getting them to wear a collar is also not as simple. With the right steps, you can slowly get your feline to wear it.
The key is to keep it simple and slow. Cats are sensitive, and wearing a collar can seem like a punishment to them. Training makes sure your cat doesn’t hate the device and learns not to pull on it.
The following steps will get most felines to wearing a collar that does not apply to every single cat. Some cats will refuse to wear it most of the time.
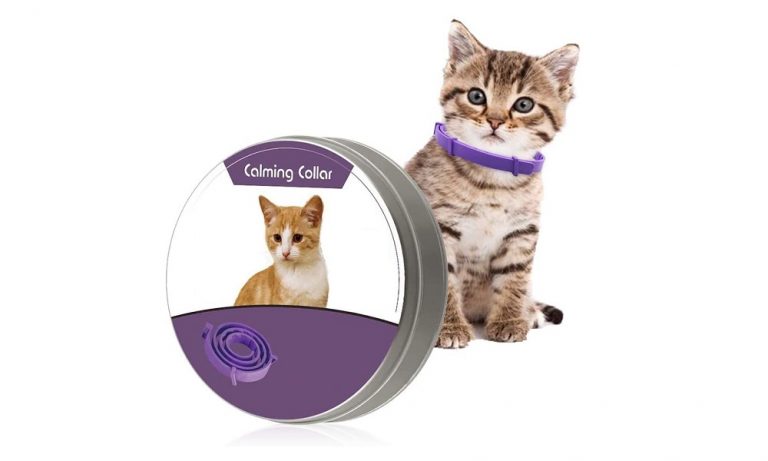
In such cases, you may need to seek professional help or use a pheromone collar to calm the pet. Without further ado, let’s get started:
Step 1: Get the Collar Ready
When it is your cat’s first time wearing something, you need to make sure he does not keep feeling it constantly.
To avoid that, it is best to remove any metal tags, IDs, or cat bells and isolate the strap. Now that the collar is free from extra accessories, we can move to the next step.
Step 2: Open and Adjust the Collar Buckle and Strap
For felines, the most recommended type is breakaway collars. Since cats love to go in cramped places, the chances of a collar getting stuck in something are high. The breakaway types allow your feline to escape in such situations.
Open the collar and adjust the length. To adjust it to the right length, you will need an estimated measurement of your cat’s neck.
Using a tape measure is mostly no good as cats don’t like anything covering their necks; however, you can get an estimate by using your hand.
When your feline is calm, simply measure her neck using your fingers while stroking her. Then you can use that as a guide for proper adjustment. Once the length is set, we are ready to move on to the next step.
Step 3: Allow Your Feline to Observe the Collar
This is an introductory step and basically just tells you how your cat is going to react to the collar. If your cat is indifferent, you can proceed.
If he continues to stare or sniff this, you can still continue. It is important that he is calmly observing. If you see signs of anxiousness, you may need to wait.
Step 4: Approach The Cat for a Good Mood
This is important because if the kitty is having a bad day, he’s going to feel worse when a collar is put on against his will. Grab your pet’s favorite treats and wait for the time when he is feeling cheerful and energetic.
One of the things pet parents ask is how they are supposed to approach the cat. In training, while our goal is to distract the cat from the collar.
It is not advised to put it on from behind. You need to be in front of your pet. Relax and slowly go in for it; make sure your cat is not getting nervous or angry.
Step 5: Clasp the Collar Shut
Once you are in position, secure the collar. Now your dog may start rolling on the ground in the struggle to break free from the freedom binding strap, or he may continue with his activity.
The reaction is totally dependent on your pet. If your cat is calm, you can now check if the device is a good fit or not, as it was adjusted based on an estimate.
Ideally, you should be able to easily slide in a finger between the collar strap and your cat’s fur. If it is loose, your pet will continue to feel it moving with the fur.
In such a case, take it off and readjust. Make sure the pet’s fur is not caught up in the fur. This step is only completed if your cat is calm.
If he is rolling on the floor in an attempt to free himself, consider distracting him with treats and praise. While this is most likely to make him feel better, you may need to remove the collar for some time. Allow your feline to adjust.
Step 6: Use the Collar after Regular Interval
This is done, so your pet does not feel trapped. Make it a gradual thing and as he gets used to it, increase the time. Once your pet is used to wearing the collar for longer, slowly put on the tag or ID.

Once comfortable, your cat will be ready to go outside safely.
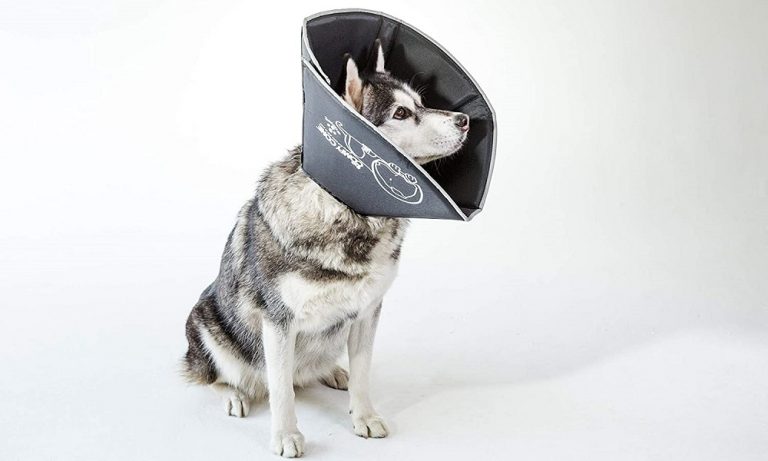
Read More: DIY an E-Collar for a Cat
Some Important Tips
- It should be a good fit. Ideally, it should stick close to the feline’s skin. It shouldn’t however be too tight to constrict breathing or movement. You should be able to slide a single finger without a problem.
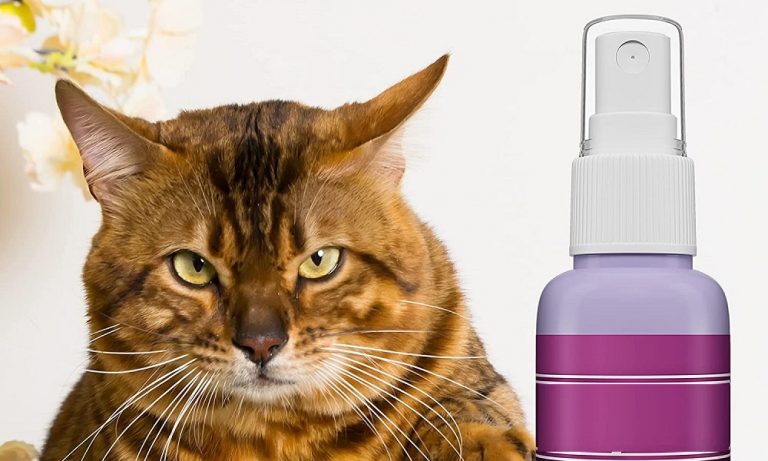
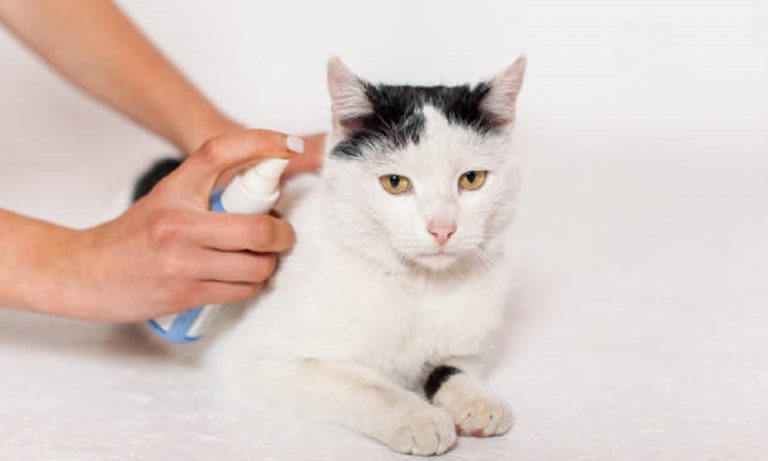
- If your cat is uncomfortable with this and refuses to wear it no matter what, consider using a pheromone spray. The scent will induce calmness.
- Timely rewards are excellent for collar training and help your cat get used to the accessory quicker.
- Using this is recommended for both indoor and outdoor cats. Having a special ID and a microchip is also a plus.
- Since breakaway collars come off when they get stuck in something, it is advised to have a replacement.
- For growing kittens, the size adjustment needs to be monitored regularly to accommodate for growth properly.
- In the case where your furry friend refuses to wear, consider using a microchip or seek professional help.
- Never leave your cat alone with the collar on. Remove it when you are away. Then, when your cat is used to it, it is alright to leave it on for a longer time.
Conclusion
Getting a cat to wear a collar is no easy task, it has its benefits. It can identify your pet and make it a lot easier for someone to bring them back home.
It tells that the pet has a home. Collar training for cats is a simple process; however, it requires time and patience.
When combined with the right collar, delicious treats, and lots of praise, your cat will get used to the real good feeling. There is no specific age, and you can train your cat at almost any stage.
Whenever you begin, you will need to make sure that your feline does not feel punished or trapped. Use positive reinforcement and create a good association with the accessory.
Start by small intervals and monitor your cat at all times. When all this is taken care of, your cat will feel safe and calm.
Want to work on more DIY cat cone collar projects?