How to Make a Cat Collar?
Whether your cat loves to stay indoors or outside, a cat collar is a must! Cats that love to explore the outside world are more open to danger compared to the ones that sit quietly at home.
An adventurous collar with a displayed name and address will make your cat find its way back home. Taking out time to make this for your cat is a fun thing to do.
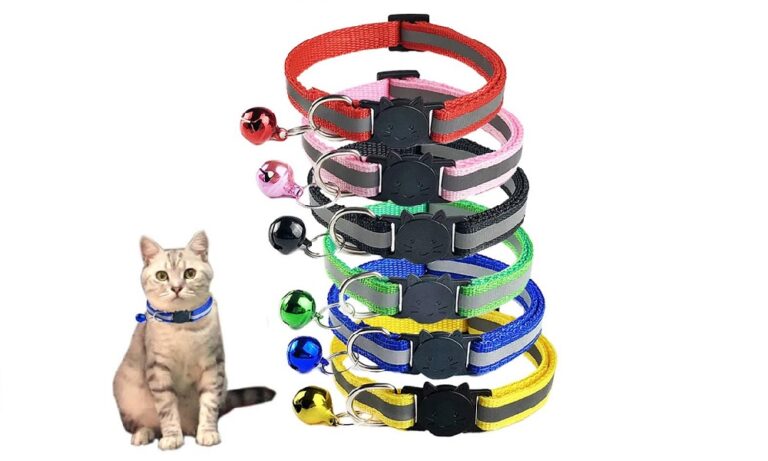
A collar is a simple way to showcase your cat’s personality. Some color brightens up the color and countenance of cats and makes you identify them from afar.
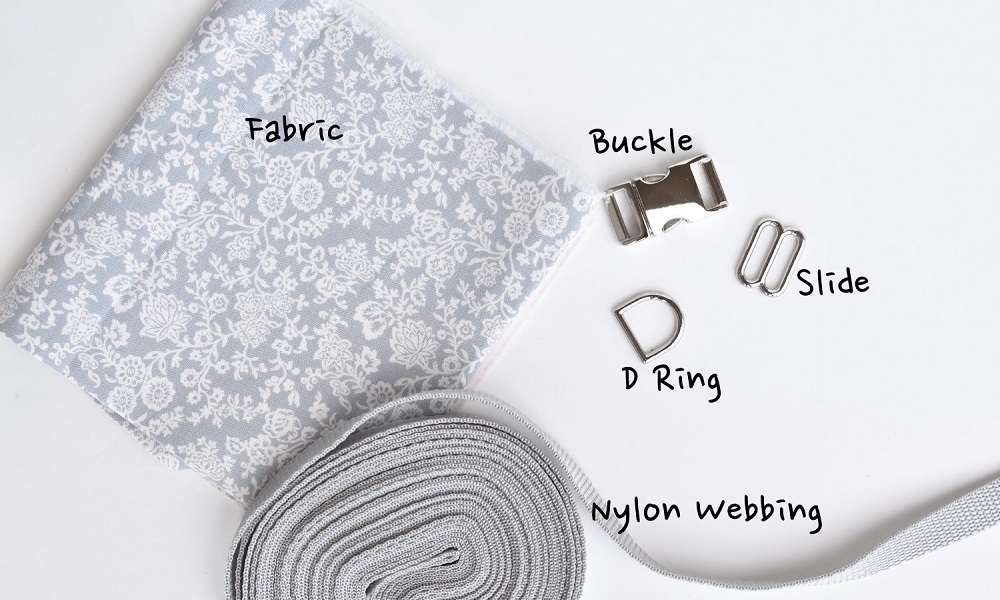
First, you need hardware like D-ring, male and female parachute buckle, and adjuster (slider). Cats are curious and funny pets. It is advisable to get a breakaway parachute buckle from the store.
These buckles are designed to help both indoor and outdoor cats escape from accidental strangling. Materials like fabric, webbing, and thread are required. Below are the steps to making a befitting cat collar.
DIY a Cat Collar Step by Step Guide
You can easily make a cat collar at home by maintaining following step-by-step instructions.
Step 1
Make your cat sit in a relaxed manner, and use a fabric tape rule to measure the circumference of your cat’s neck. Also, the measurement from the old collar will help with a more accurate size.
Lay the collar flat and measure one end to the order. Below is a table to help with the perfect measurement for each cat. Your cat may be Small, medium, or large.
| Size | Measurement (Inches) |
|---|---|
| XS | 6-12 |
| S | 9-15 |
| M | 12-18 |
| L | 15-21 |
| XL | 18-24 |
| XXL | 21-27 |
Step 2
Spread out your desired fabric on a platform and iron out the wrinkles for a precise and even measurement.
Step 3
Add 5” inch to your initial measurement. It will enable easy adjustment and allowances.
Step 4
Use scissors to cut the fabric according to the length and width of the measurement. Make the fabric a 2” inch longer than the webbing.
Step 5
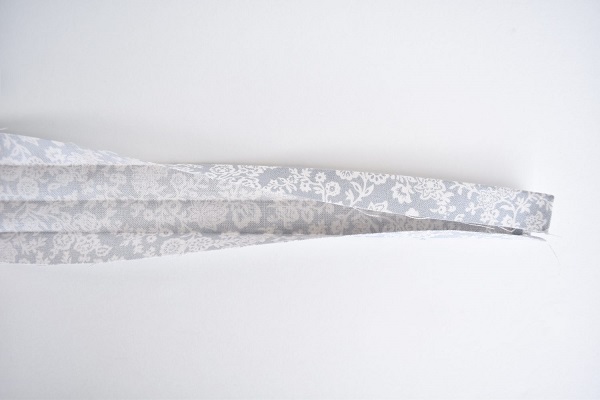
Fold the fabric material in half lengthwise and steam with an iron. Open it up and fold the two edges towards the middle, and steam again.
Step 5
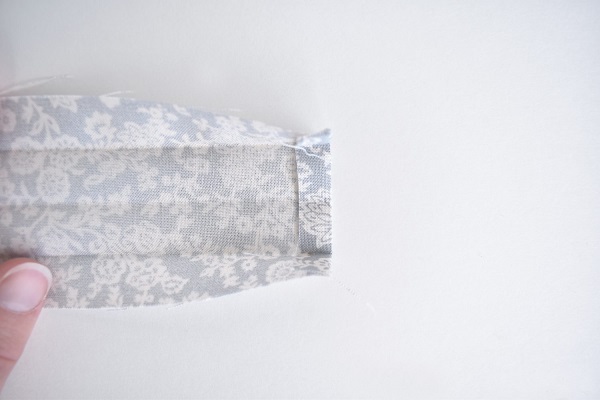
Fold 1/4 “inch inward on each short end and press with an iron.
Step 6
Insert the nylon webbing inside any half of the fabric. Then, refold it till it hides the entire web.
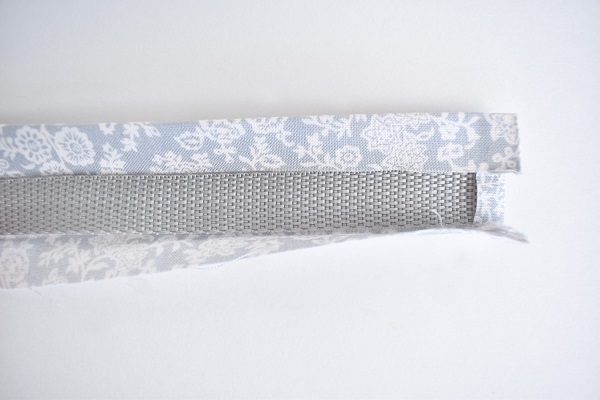
Step 7
Use a clip or pin to align the fabric and nylon strap together while you sew it. Do not iron the fabric at this time. The temperature of the electric iron can melt the nylon web.
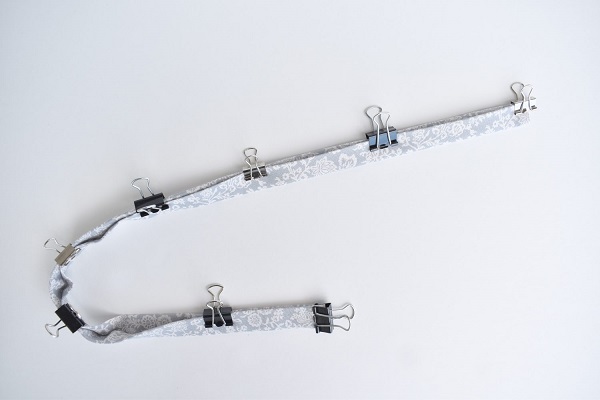
Step 8
Then, maintain a straight stitch towards each edge of your strap by leaving about 1/8” inch in between. It will secure the webbing strap in the fabric. Stitch the loose ends of your collar.

Step 9
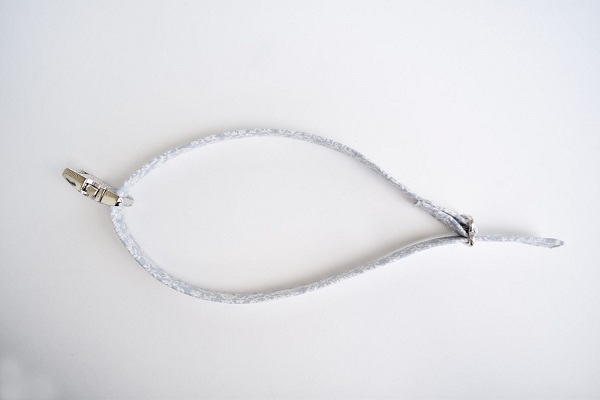
Now is the time to assemble! It could look a bit tricky but, it is so simple! Fix in the slider (plastic or iron) just like the picture below. Leave out about 2” inch fabric.
Step 10
Make a zigzag or box stitching to secure the slider in position.
Step 11
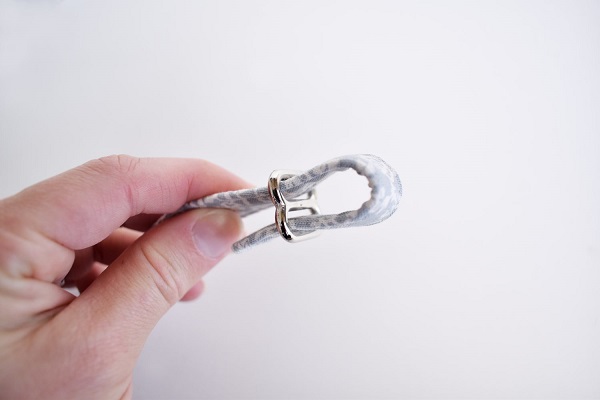
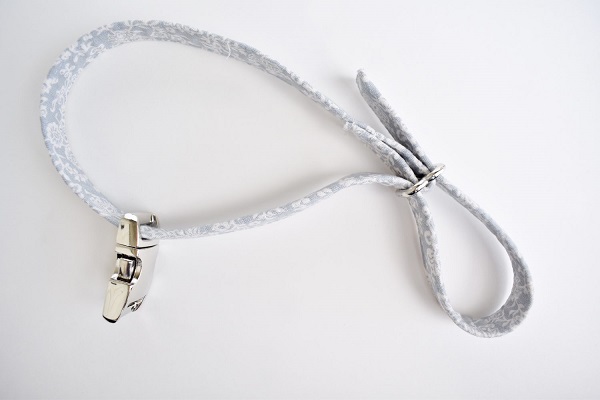
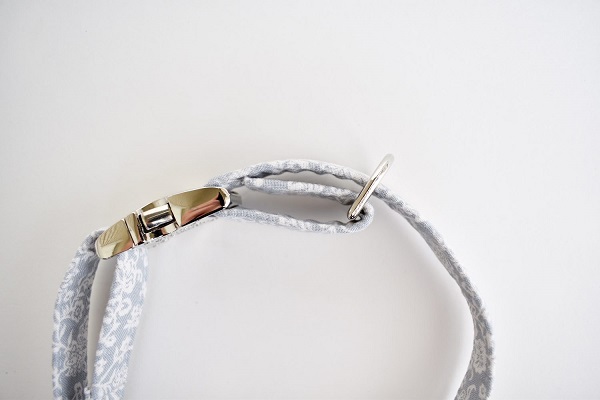
Insert the female parachute buckle. You can find it in any craft store. Just be sure to get the durable type. Tread the female buckle through the collar.
Then tread the free end of the strap back through the slider. See the picture for perfect insight to ensure you don’t twist or fix the fabric the wrong way.
Step 12
Tread the same open end of the strap through the last half of the slider. By now, the buckle should be inside the enclosed loop.
Step 13
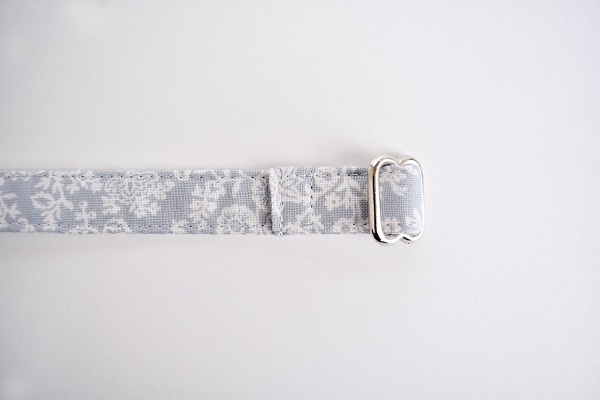
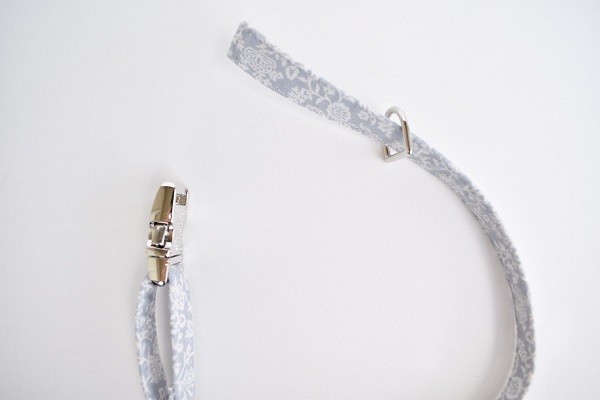
Insert the D-ring into your collar. The D-ring is for attaching a leash, I.D cards, and other pets’ fashionable accessories.
Step 14
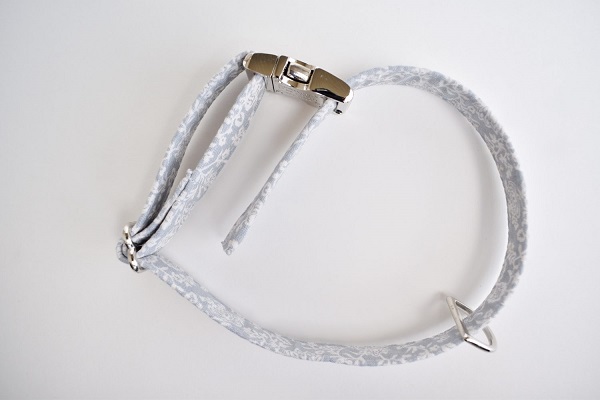
Tread the open end of the strap through the male parachute buckle. Check to ensure you are inserting the right side of your fabric.
Step 15
Fold over 2” inch of the fabric and thread it through the D-ring. Now, the D-ring should have double layers of fabric.
Step 16
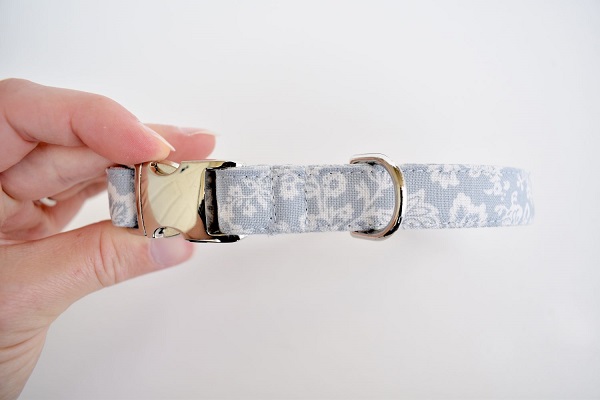
Use your sewing machine to secure the double layer and the D-ring. Run the first stitch closer to the D-ring and the second stitch closer to the male buckle. Make reinforced stitching by sewing twice and tight.
Lastly, adjust the slider to make the collar the exact size of your cat’s neck.
Pet DIYs, DIY Cat Collar and Wooden Pet Tent By Dainty Diaries
How Tight Should a Cat Collar be?
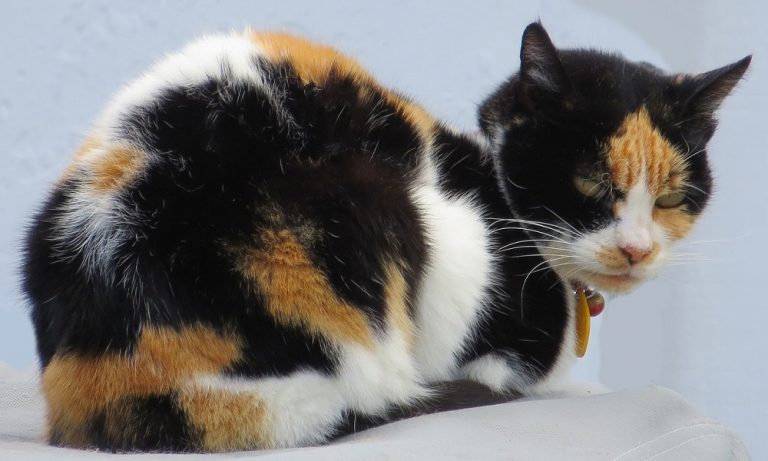
According to the standard rule, two fingers should be able to freely slip in between your pet’s neck and the collar. This is how tight it should be.
It will prevent injury or choking. If the adjustment is too loose, your cat can get its foot trapped under the collar and, this results in injuries.
If the fitness becomes too tight, it might irritate your cat by causing itchiness, discomfort, or pulling off the fur that might develop a bald spot. It is ideal to adjust the size according to the circumference of its neck.
If you have a kitten that is not fully grown, check and adjust the collar week by week. If it becomes too tight, use the slider to adjust more allowance. These are not advisable for kittens.
Conclusion
The homemade collar is cheap and does a great job. Thus, if your cat does not have a collar yet, this article comes in handy for you to bring out your fabric and make amazing pieces out of it.
There is so much to a collar than what it looks like to the eyes. The protection, easy identification, and beauty give your cat are no match. Losing a pet can be painful.
But, if you make them have a collar on, they will find their way back home. If you follow the above steps, you will end up making something comfortable and classic for your dog.
You can make something functional while helping your cat get cuter. Cats are natural hunters. Thus, if you want to reduce the act of hunting, you can attach a tinkly bell to its collar.
Want to work on more DIY cat collar projects? Check out our guides on: