How to Make an E-Collar for a Cat?
An E-Collar also referred to as an Elizabethan collar, is a fabric, paper, or plastic that helps prevents wounds and injuries from further damage.
These collars restrict cats from reaching out to wounds through scratching, licking, and chewing. If cats are allowed to access the affected area, they will break the stitches, resulting in infection or wound inflammation.
Although many cats hate to wear this protective collar and often try to remove it forcefully, some quickly get used to it.
Cat collar can be used as a device to prevent wrong behavioral responses such as mouthing or licking the body. E-Collars come in different forms, from soft/hard plastic and clear or shaded plastic material.
Some ideas on how to craft a homemade temporary E-Collar. The opinions may look or sound funny but, getting the job done is the reality of the matter.
How do E-Collars Work for Cat?
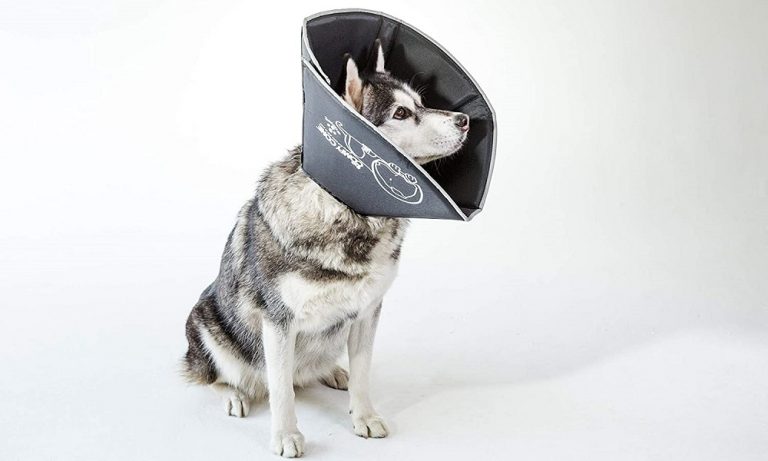
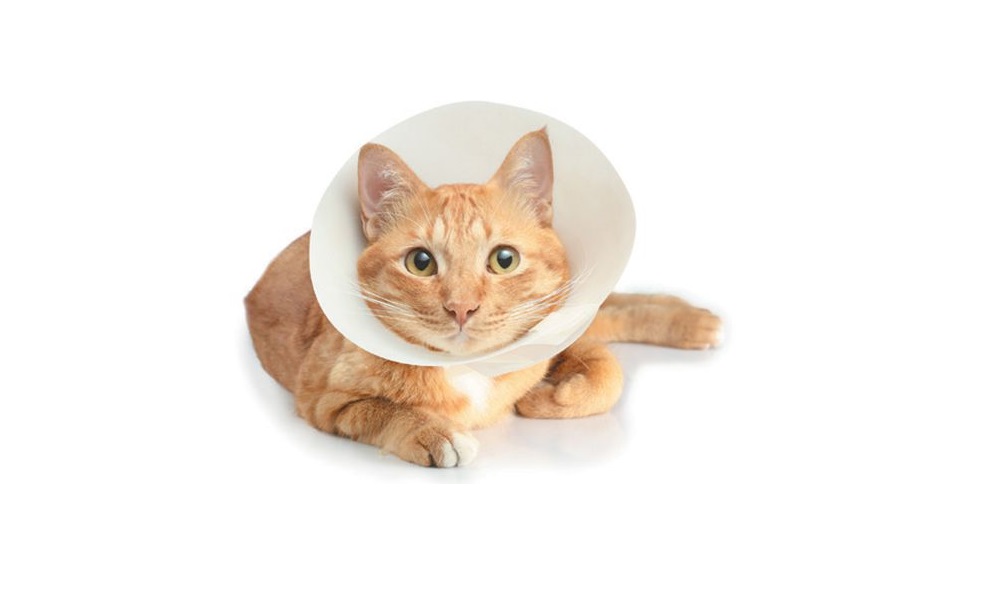
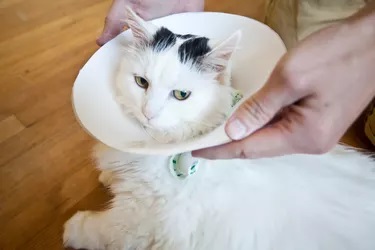
It’s inevitable. Your Cat will likely need to put on a collar, also called a “cat cone of shame.” As funny as the cone might look on your Cat, it serves an essential purpose.
Never see e-collar as a torture device! It works by putting it around your Cat’s neck, encircling the head by creating a blockage between the head and the rest of the body.
An e-collar functions in a way to prevent your Cat from causing a problem with their wounds or surgical site.
The e-collar serves as a physical barrier to restrict your Cat from accessing wounds so they don’t interrupt the healing process. It works as a protector!
Different Ways of Making E-Collars for Cats?
E-Collar can be constructed from different materials. We are going to look into different homemade e-collars and how to make them.
Homemade Cardboard E-Collar
Material: Cardboard, ruler, pencil, scissors, compass, and tape
Step 1
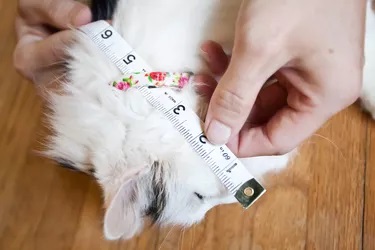
Measure the tip of your Cat’s nose to the collar rest. Add an extra inch to determine the height of the cone.
Step 2
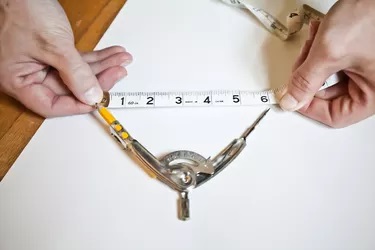
Removes your Cat’s collar and measure the length; this will help determine the diameter of the e-collar.
Step 3
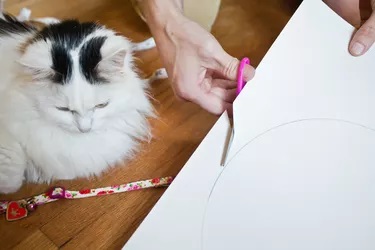
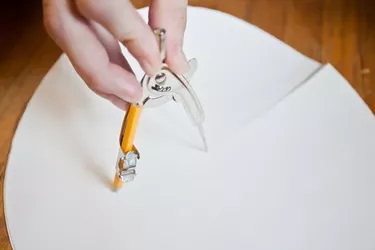
Insert a pencil into the compass, and then set it according to the nose-to-collar measurement. Use the set compass to draw a circle on the cardboard.
Use a scissors to cut a long line along with the radium of the circle. Then, cut out the traced diameter.
Step 4
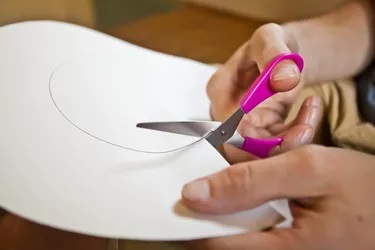
Set the compass to half of the collar measurement, then mark out a circle in the middle position of the cardboard circle. Do not forget to add ½ inch allowance. Use the scissors to cut out the center circle.
Step 5
Fold the circle into a cone shape and use seal tape to secure the edges together.
Step 6
Use a hole puncher to make about 4 to 5 holes around the inner circle. The holes should be 1inch away from the edge.
Step 7
Use a ribbon or light rope to attach your Cat’s collar to the cone by weaving it through the holes. Knot the end of the ribbon to secure the collar in place.

Step 8
Insert your Cat’s head through the opening at the bottom. Secure the cone to her neck by using the collar.
Paper Plate E-Collar
This type of e-collar is suitable for a kitten or other small cat breed like Singapura cat. They are easy to make within few minutes.
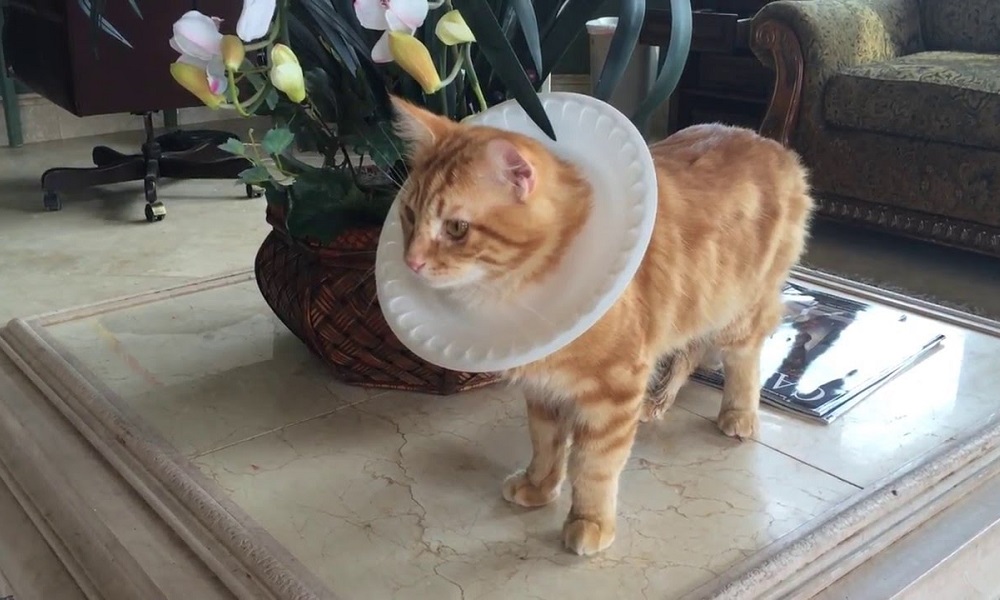
Material:– Paper plate and sharp knife
Step 1
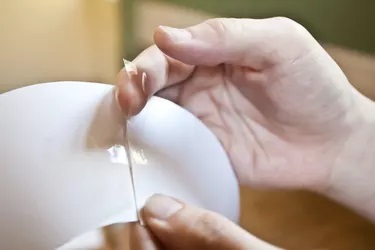
Use a knife to cut out a hole at the center of the paper plate. Make it wide enough for your Cat’s head and ear to pass through without ruining the paper plate.
Step 2
Pass it through your Cat’s head. One good thing about this e-collar is that it does not make your Cat uncomfortable.
Homemade Towel E-Collar for Cat
If you have old towels that you no longer use, you don’t need to throw them away. You can use a towel a cone collar for your Cat. You can also use a hand towel or small towel; this depends on the size of your Cat.
Material:– Towel and adhesive tape gum
Step 1
Fold the towel and wrap it around the circumference of your Cat’s neck. Wrap it tightly but ensure it does not restrict free breathing.
Step 2
Use adhesive tape to wrap the towel in two places. It will hold the ends of the towel together.
Homemade Butter Tub E-Collar
This e-collar is the strongest. You need something your Cat can’t destroy.
Materials: Butter container, sturdy cutter or knife, tape, scissors, and string
Step 1
Find the appropriate size of butter container for your cat’s size. Butter container is lightweight compared to a bucket.
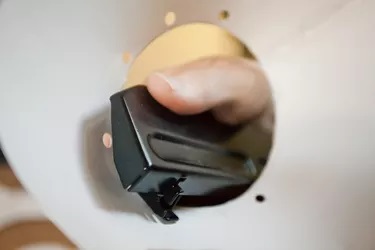
Measure your Cat’s collar and leave an inch allowance for its ears to fit through. Then, use the knife to cut a hole at the bottom of the container.
Step 2
If there are sharp edges after the cut-out, use a scissor to smooth them out. Apply adhesive tape around the edges. The tape will help seal the rough edges so it does not irritate your cat’s neck.
Step 3
Use the sharply pointed side of scissors to poke one or two holes on each side of the bottom of the bucket.
Step 4
Thread the strings through the poked holes. Slide the container on your cat’s head and fasten the rope to secure it.
Important Tips
If your cat has to wear an E-Collar, below are some tips that will help him get familiar with this new system:
- Let your cat inspect the collar: Place the collar in areas where he loves to hang out and allow him to see for himself. Each time you see your cat go close to the collar, give him a nice treat. If your cat doesn’t want to go close to the cone collar, place a toy or treat beside the collar.
- Wear the collar on your Cat: Afterward, you can put them E-collar on your Cat; Help him maintain calmness by preparing his favorite food.
- Secure the collar: Whether you took enough time to help your cat familiarize himself with the collar or not, he might still struggle to take off the cone. This reaction is typical; thus, tie the E-Collar to your cat’s neck using a piece of fabric or ribbon.
After following the above tips, ensure you monitor your cat. Even if it seems your cat has gotten used to the collar, you will still see cats struggling to remove the collar. Lastly, make sure your pet is comfortable and relaxed.
Conclusion
A cat e-collar may make your cat uncomfortable and sad at first. But, this is one of the best ways to prevent licking and biting on wounded areas and make healing faster.
Most cats wear an e-collar once in their lifetime! If you want plenty of options of E-Collar to make at home, we have given a quick and straightforward way to make cat cone collars.
Homemade collars are cheap and easy to make with the materials you have at home. It is easier to get the precise measurement for your cat if you make a homemade collar.
You don’t need to keep adjusting now and then. Finally, learning how to make a cat collar at home is one of the ways to give your cat the best wear.