How to Put a Choke Collar on a Dog?
Choke collars are a helpful training tool; however, much like any other tool, it is easy to misuse them. Dogs show aggressive behavior and pull on their leash for all sorts of reasons.
This collar helps prevent and correct this behavior by tightening when it is pulled. The tension in the chain is what signals the pet to stop the struggle and not to pull on the leash.
Your pet’s neck is a sensitive area. If the collar is not worn correctly, it can cause severe damage. Other than the physical effects of pressure around the neck, a wrongly used choke collar can leave dogs angrier and sometimes even traumatized.
To avoid this and make the walks a pleasant experience for your canine, you need to know how to use the collar. The trick is wearing the collar correctly. It should not have any unnecessary twists or turns in it.
To get the right idea for this type of collar, you also need to know how to get your pet’s attention and the side you prefer having your pet on.
We will share the ideal method of putting on a choke collar and some useful tips to make sure your pet remains safe.
Why is it Necessary to Put a Choke Collar Properly?
As mentioned previously, choke collars have a lot of controversy around them. Many people consider these as a cruel way to discipline dogs.
These are also only as dangerous as the use these are put to. The first thing you need to understand is that these collars are solely for training purposes and not intended for fashion or regular use.
Some choke collars are used alongside regular collars; this is done because leash attachment is important in order for the collar to function properly.

Choke collar training is to teach your pet not to behave in a certain way; it is not supposed to be a punishment tool. While the name says “Choke,” the right method of correction should not involve strangling.
It should be a gentle yet clear reminder to your pet that tugging on the leash is not safe for him. When put on the wrong way, a choke collar can get stuck instead of releasing which can be really painful and traumatizing for your canine.
Similarly, excessive pulling can also result in fear or extreme aggression in dogs. It is simply not the way to get the canine’s attention. The next thing to keep in mind is how you put it on your pet.
The working of a choke collar can be affected by the loop and general direction of the extra chain. Ideally, the loop should be made in a horizontal P shape with the longer end towards the side you feel most comfortable with.
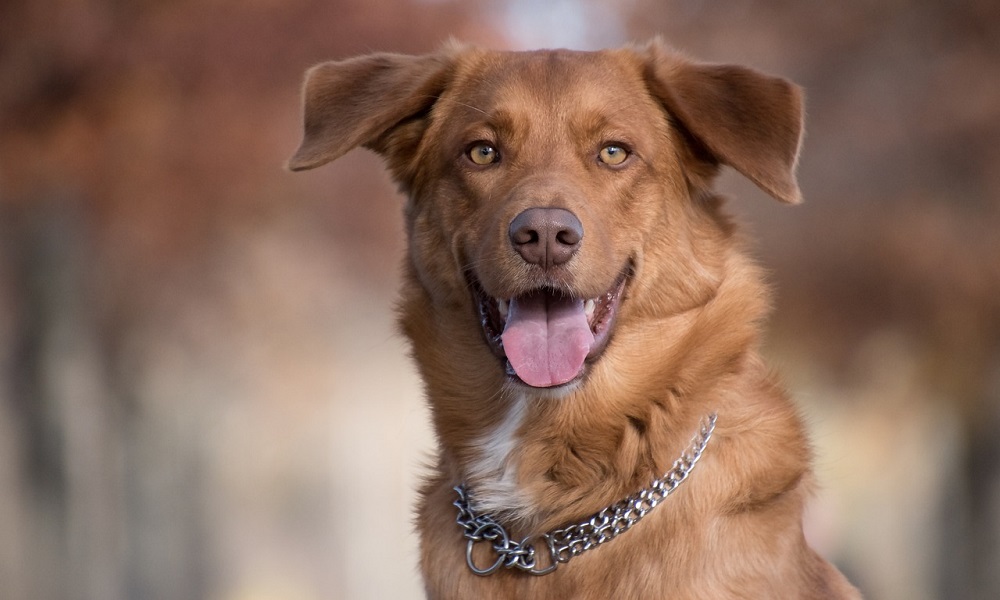
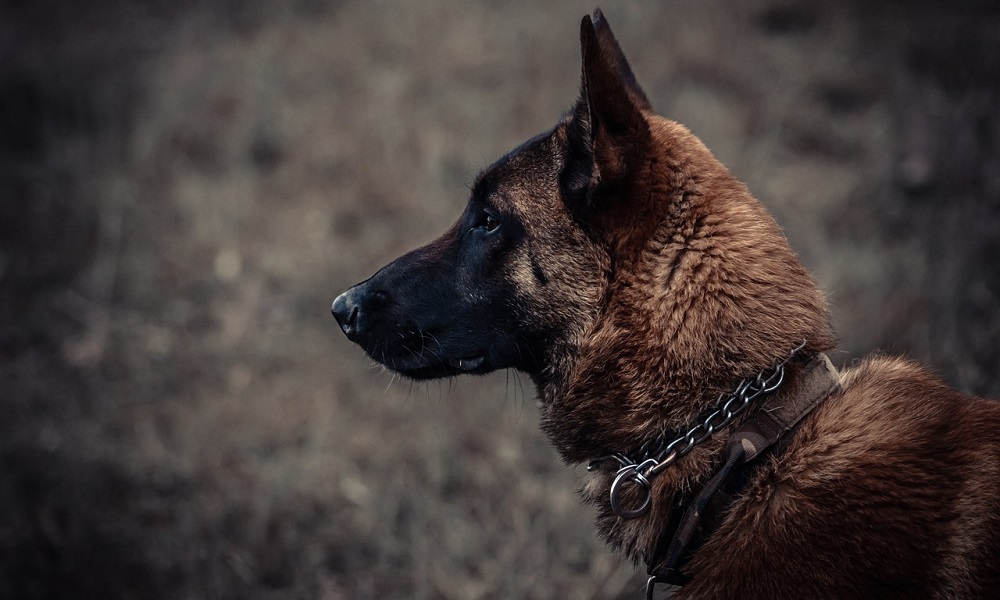
It is on the left side. The next important thing is the placement; you cannot simply let the collar hang around the neck; it needs to be just below the ears.
This is done, so the trachea does not collapse under pressure. A slight nudge of the leash should be enough to signal your pet; we do not wish to threaten his life.
Therefore, the proper placement and correct method of wearing is crucial for the collar to work correctly.
How to Put a Choke Collar on Your Dog?
Now that you know the importance of putting on the collar the right way let’s get started. This training is simple, and the collar will do most of the work; what you have to take care of is the placement. You will need the collar, a leash, and your pet.
It is only recommended to put the collar on when you are taking your pet outside for a walk. These are not for indoor use, and it is not advised to leave your dog unsupervised while the choke collar is on.
Step 1: Prepare the loop by threading one end of the chain through the other. Ideally, the chain should be without any twists and turns, so it moves in and out smoothly.
Set the collar in a loop-like shape, making it like the letter P. When worn by the pet, it should be on its side. Make sure the longer end of the collar slides smoothly.
Step 2: Introduce your pet to the collar. If your canine is already accustomed to wearing a collar, this step should be easy. Allow your pup to observe the collar. Once he approves, we can move on to the next step.
Step 3: Face your pet from the front and carefully slide on the collar. It is important that the collar is put on while facing the dog from the front. Do it casually; however, if your pet resists, consider distracting him with his favorite treats.
Make sure the collar is snug around the neck, and the extra length moves freely at the side. It should not be above or behind the neck. Bring it to either left or right, depending on how you usually walk your dog.
Step 4: Getting the right-sized collar is also essential. According to an estimate, there should be at least 4 to 5 inches of the collar end left when it is snug just below the ears.
It shouldn’t be shorter or longer than that. It will cause suffocation and will not release to the desired length. A longer chain, on the other hand, will not provide the tightening effect. Therefore you need to be careful about that.
Step 5: Decide which side the end of the collar goes to. Most people prefer walking their canine on their left side. This is why it is mostly recommended to loop the chain in a horizontal P shape.
If you prefer walking your pet on the right side, you will have to create the loop in a horizontal q shape. Check to make sure that the end is sliding tight and loose with ease, do not pull the leash too hard.
You are just checking to see if everything is correct or not. Pulling it too much will give the pet the wrong message, and it is something you want to avoid.
Once you have made sure of that, clasp the leash buckle to it, and you are ready for a walk. When your pet is walking normally, keep the collar slightly slack. It shouldn’t be tight all the time.
Our goal is to gently correct the canine when he tries to free himself from the leash or starts to pull on the leash. If your pet is going too fast or pulling away, give the collar a tug to signal your pet.
At the same time, it can be effective to employ a verbal command. Time these together and look at your pet, so he knows you are addressing him.
Limit the collar to when you are taking your pet outside. Be consistent with the commands and release the tension as soon as your pet listens to you. When trained like this for a long time, soon your pet will understand what you want him to do.
Some Important Tips
- Choke collars are all about the right fit. If your pet in the growing stage, monitor the strap regularly to make sure it is not too tight for your pet.
- Never use the collar as a punishment tool; it is strictly meant to be a gentle correction.
- If your pet is wearing another collar or a pet sweater, make sure the collar chain does not get stuck on it.
- Choke collars cannot and must not replace your pet’s regular collars. Their use is only recommended when taking your pet out for a walk.
- Do not let your pet out of your sight when he is wearing the collar.
- If you are looking for a safer alternative, consider getting martingale collars. Their working is similar to that of choke collars; however, there is a limit to how tight the collar can get.
- If you are unable to use the collar properly, seek professional help.
Conclusion
A choke collar can prove to be an excellent, safe training tool if used properly. When used the wrong way, It can frighten and hurt your canine.
These must be worn the right way. From the loop method to the direction, everything should be set, so the collar tightens and releases with ease.
The main purpose of a choke collar is to signal the pet to stop pulling on the leash. The trick is to loop the chain correctly and limit the use only to when you are taking your pet outside.
When collar training your canine, you will need to use his favorite treats, praise, and lots of patience. If you are unable to get the desired results, consider asking a professional’s help.